Odoo is a full-featured, extensible open-source ERP (Enterprise Resource Planning) software built using Python and PostgreSQL database for data storage.
It is a suite of open-source business applications, that consists of multiple apps under various categories such as website, sales, finances, operations, manufacturing, human resource (HR), communication, marketing, and customization tools.
The main apps include a website builder, CRM (Content Relationship Manager), a fully-functional eCommerce, a marketing app, an HR app, an accounting tool, an inventory app, a point of sale app, a project management app, and many more.
In this article, we will show you how to install the latest version of Odoo Community Edition (CE) on Ubuntu 24.04, Ubuntu 22.04 or Ubuntu 20.04.
Step 1: Install PostgreSQL on Ubuntu
1. To run Odoo properly, you need a PostgreSQL database server, which can be installed from the default repositories as shown.
sudo apt update
sudo apt install postgresql
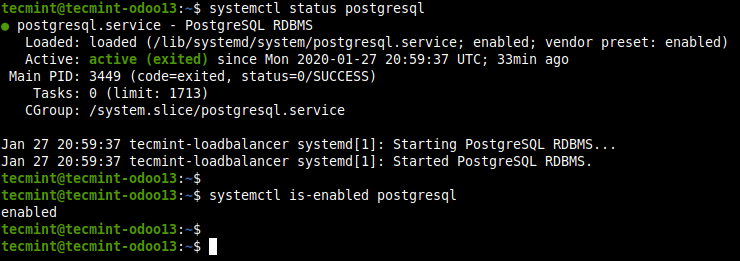
2. Once the PostgreSQL installation is complete you need to check a few things. During the installation process, the installer is configured to start the postgresql service and enable it to automatically start when the server is rebooted.
To check if the service is up and running, and is enabled, run the following systemctl commands.
sudo systemctl status postgresql
sudo systemctl is-enabled postgresql
Step 2: Install Wkhtmltopdf on Ubuntu
3. Next, you need to install Wkhtmltopdf – which is an open-source, small command-line utility that converts an HTML page to a PDF document or an image using WebKit.
The Odoo requires wkhtmltopdf v0.12.05 which is not provided in the Ubuntu repositories. So you need to install it manually by downloading wkhtmltox .deb package from the wkhtmltopdf website for your Ubuntu release.
wget https://github.com/wkhtmltopdf/packaging/releases/download/0.12.6.1-2/wkhtmltox_0.12.6.1-2.jammy_amd64.deb
sudo dpkg -i wkhtmltox_0.12.6.1-2.jammy_amd64.deb
sudo apt install -f
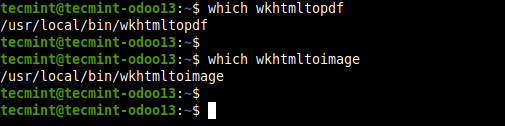
4. Verify that Wkhtmltopdf is successfully installed on your machine.
which wkhtmltopdf
which wkhtmltoimage
Step 3: Install Odoo in Ubuntu
5. We will be using the official Odoo repository to install Odoo Community Edition by executing the following commands.
wget -q -O - https://nightly.odoo.com/odoo.key | sudo gpg --dearmor -o /usr/share/keyrings/odoo-archive-keyring.gpg
echo 'deb [signed-by=/usr/share/keyrings/odoo-archive-keyring.gpg] https://nightly.odoo.com/17.0/nightly/deb/ ./' | sudo tee /etc/apt/sources.list.d/odoo.list
sudo apt-get update
sudo apt install git wget python3 python3-pip postgresql build-essential wkhtmltopdf python3-dev python3-venv python3-wheel libxslt-dev libpq-dev libzip-dev libldap2-dev libsasl2-dev python3-setuptools node-less libjpeg-dev gdebi
sudo apt-get install odoo
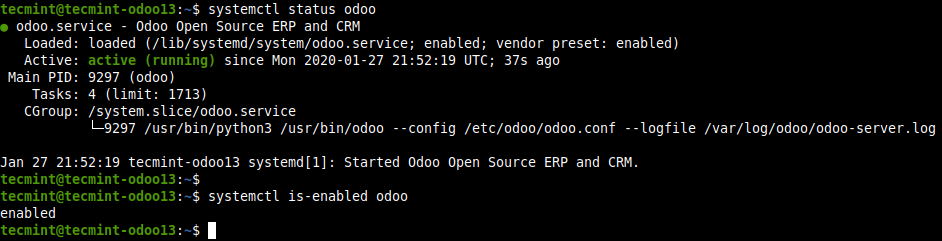
6. Once Odoo is installed, you can verify the service is up and running and is enabled to automatically start at system boot.
sudo systemctl status odoo
sudo systemctl is-enabled odoo
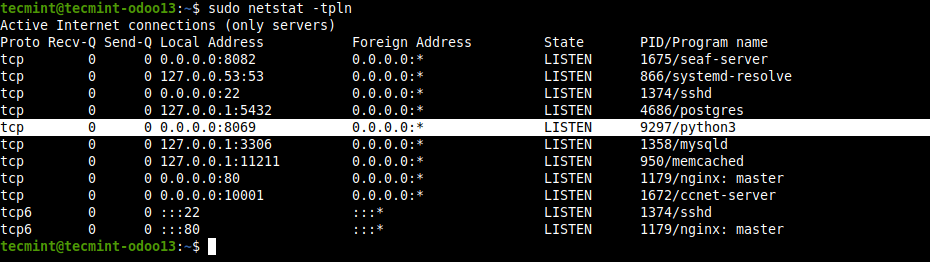
7. By default, Odoo listens on port 8069 and you can verify it using the netstat or ss tools as follows. This is another way to confirm that Odoo is up and running.
sudo netstat -tpln
OR
sudo ss -tpln
Step 4: Install and Configure Nginx as a Reverse Proxy for Odoo
8. To enable users to access the Odoo web interface without typing the port number, you can configure Odoo to be accessed using a sub-domain using an Nginx reverse proxy environment.
To configure Nginx as a Reverse Proxy for Odoo, first, you need to install Nginx as shown.
sudo apt install nginx
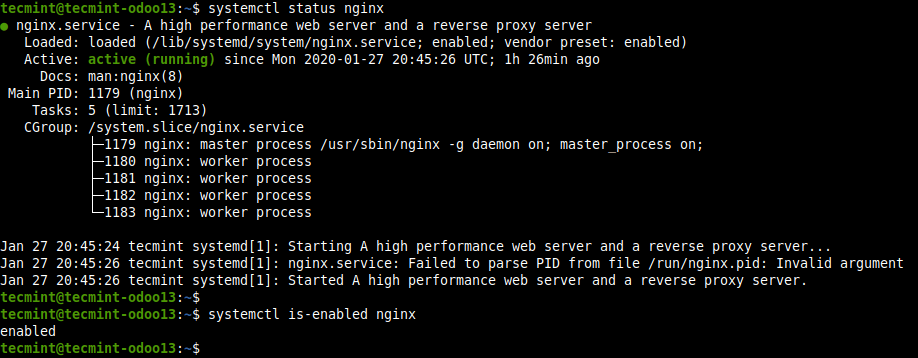
9. When the installation is complete, check if the Nginx service is up and running, is enabled as well.
sudo systemctl status nginx
sudo systemctl is-enabled nginx
10. Next, create an Nginx server block for Odoo in the file /etc/nginx/conf.d/odoo.conf as shown.
sudo nano /etc/nginx/conf.d/odoo.conf
Then copy and paste the following configuration into the file. This is a simple configuration sufficient to run your Odoo system, you can add more configurations by reading the Nginx documentation to suit your environment.
server {
        listen      80;
        server_name odoo.tecmint.lan;
        access_log /var/log/nginx/odoo_access.log;
        error_log /var/log/nginx/odoo_error.log;
        proxy_buffers 16 64k;
        proxy_buffer_size 128k;

location / {
        proxy_pass http://127.0.0.1:8069;
        proxy_redirect off;
        proxy_set_header X-Real-IP $remote_addr;
        proxy_set_header X-Forwarded-For $proxy_add_x_forwarded_for;
        proxy_set_header Host $http_host;
}

location ~* /web/static/ {
        proxy_cache_valid 200 60m;
        proxy_buffering on;
        expires 864000;
        proxy_pass http://127.0.0.1:8069;
}

gzip on;
gzip_min_length 1000;
}
11. After saving the changes in the file. Check the Nginx configuration structure for any syntax errors.
sudo nginx -t

12. Now restart the Nginx service to effect the recent changes.
sudo systemctl restart nginx
13. Importantly, if you have enabled the UFW firewall service enabled and running, you need to allow HTTP and HTTPS requests through the firewall to the Nginx server before starting to access the Odoo web interface.
sudo ufw allow http
sudo ufw allow https
sudo ufw reload
Step 5: Accessing Odoo Web Administration Interface
14. Next, open a web browser and use the following address to access the Odoo web administration interface.
http://SERVER-IP-Address
OR
http://Server-hostname
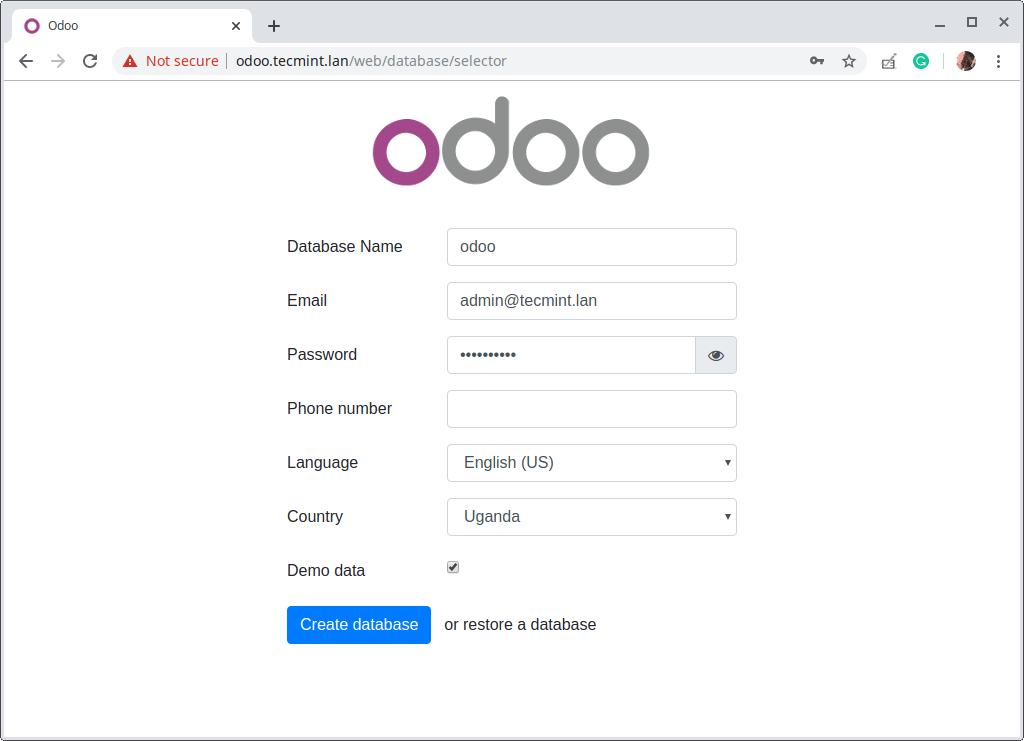
Wait for the interface to load, once it has, you need to create a database for Odoo. Enter a database name, administrator email address, and password. Then select the language and country. You can opt to load sample data or not. Then click Create Database.
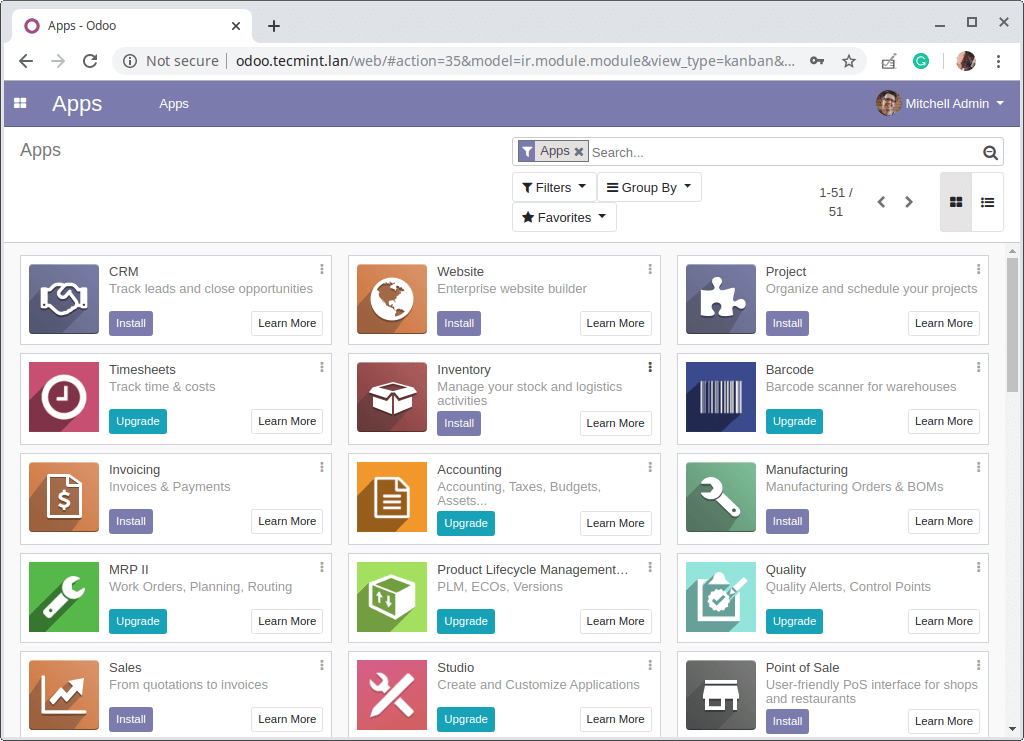
15. Then the above page will redirect to the administrator’s dashboard showing the available Odoo apps, as shown in the following screenshot. Click on the Install or Upgrade button on an app to install or upgrade it respectively. To log out, click on Admin dropdown ==> Log out.
16. The following screenshot shows the Odoo login interface. Use the credentials created in step 14 above to log in.
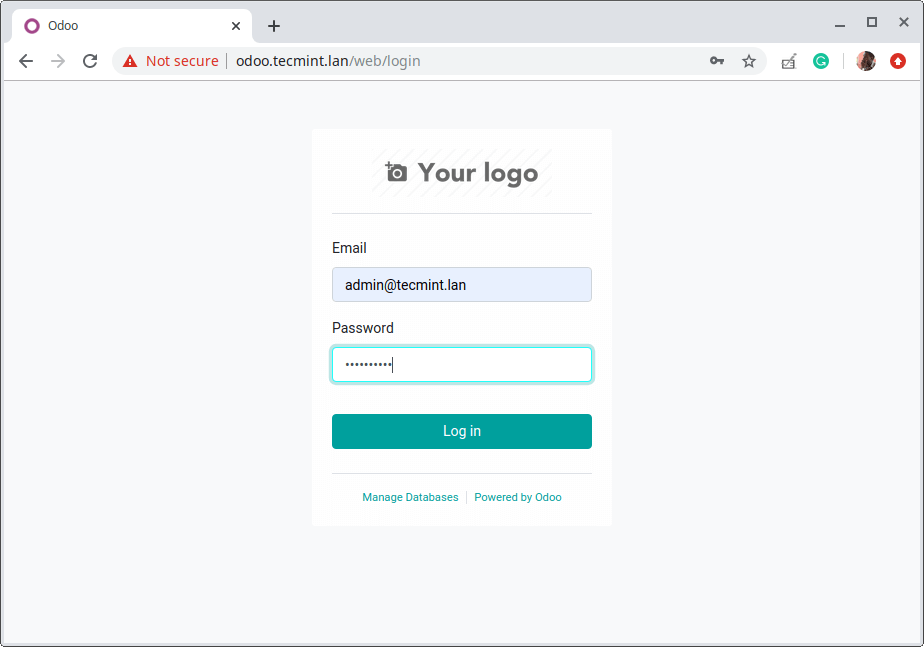
From the screenshot, you can see that the system is not secure as it is running on plain HTTP. So you need to enable HTTPS, especially for a production environment. You can use Let’s Encrypt which is free: How to Secure Nginx with Let’s Encrypt on Ubuntu and Debian.
That’s all for now! You have installed Odoo CE on your Ubuntu server. Although Odoo apps integrate seamlessly out-of-the-box to provide an accomplished, integrated ERP solution, each application can be deployed as a stand-alone application.
For more information, see the Odoo documentation.