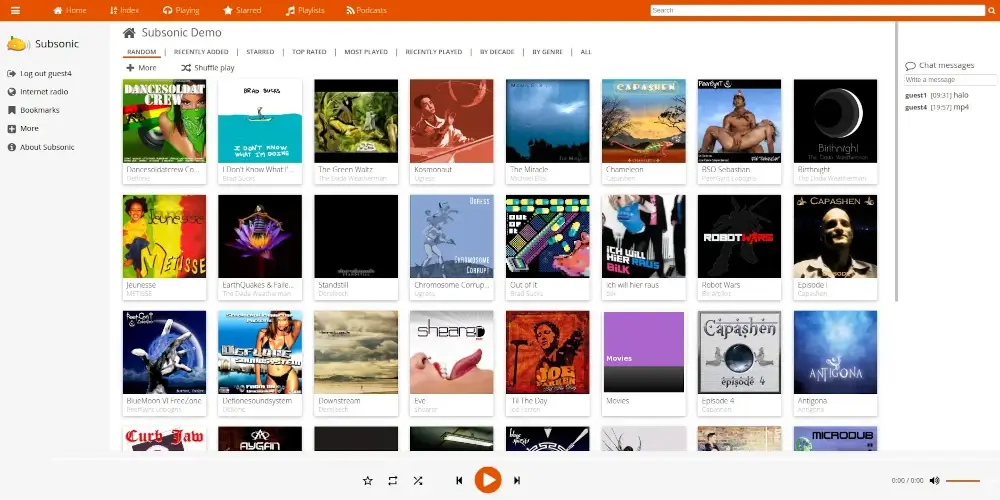
If you’re looking for a powerful and easy-to-use media streaming solution, Subsonic is an excellent choice to access your music library remotely, share your collection with friends, or even stream videos.
Subsonic gives you full control over your media anytime, anywhere and it is packed with useful features and comes with apps for Android and iOS, making it a versatile media server.
In this guide, we’ll walk you through the complete installation, configuration, and optimization of Subsonic on a Ubuntu and Debian system, with best practices for security and performance.
Why Choose Subsonic?
Subsonic is a feature-rich, web-based media server that allows you to:
- Access your entire collection from any device with a browser.
- Compatible with MP3, AAC, FLAC, OGG, WMA, and more.
- Control and stream media on Android, iOS, and smart TVs.
- Automatically convert audio/video formats for compatibility.
- Create multiple users with different access levels.
- Podcasts and web radio directly from the interface.
Step 1: Install Subsonic on Ubuntu and Debian
Before installing Subsonic, make sure your system has the latest updates, which prevent errors and ensure compatibility.
sudo apt update && sudo apt upgrade -y
Next, install required dependencies such as Java (to run) and FFmpeg (for audio/video streaming).
sudo apt install openjdk-8-jre ffmpeg curl -y
Once required dependencies are installed, download the latest Subsonic .deb package from the official website or use the following wget command to download directly on the terminal.
wget https://sourceforge.net/projects/subsonic/files/subsonic-6.1.6.deb
Once downloaded, install the .deb package using the following commands.
sudo dpkg -i subsonic-6.1.6.deb
sudo apt-get -f install
After installation, Subsonic should be running, and you can access it by opening your browser and going to:
http://localhost:4040
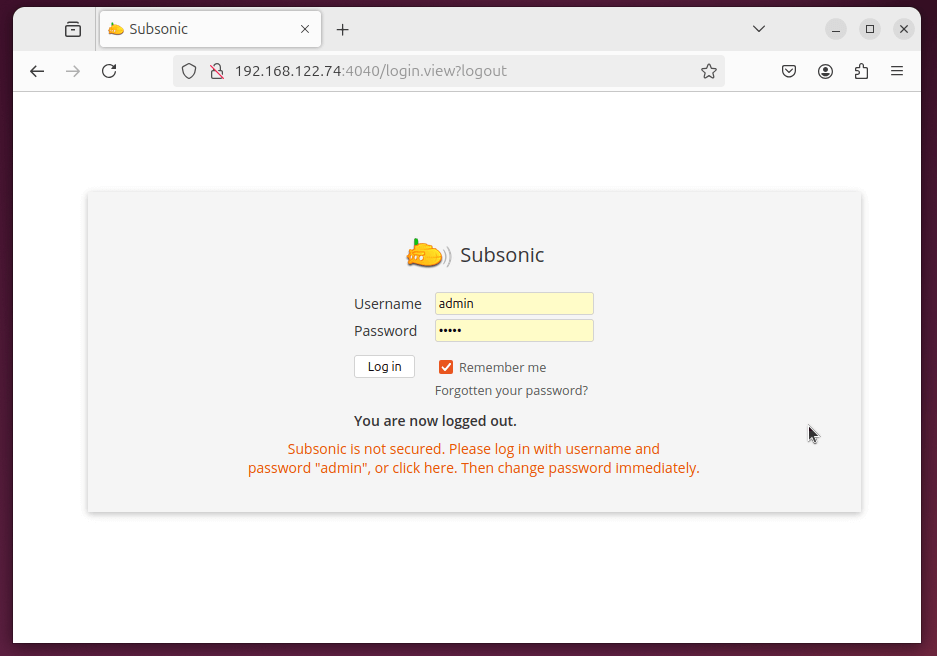
Upon first login, you’ll be prompted to change the default password for security reasons.

Step 2: Configure Media Folders
Subsonic needs to know where your music and videos are stored, so follow these steps to add your media folders:
- Go to Settings > Media Folders.
- Click Add Folder and specify the path to your music and video library.
Example:
- Example for music:
/home/yourusername/music - Example for videos:
/home/yourusername/videos
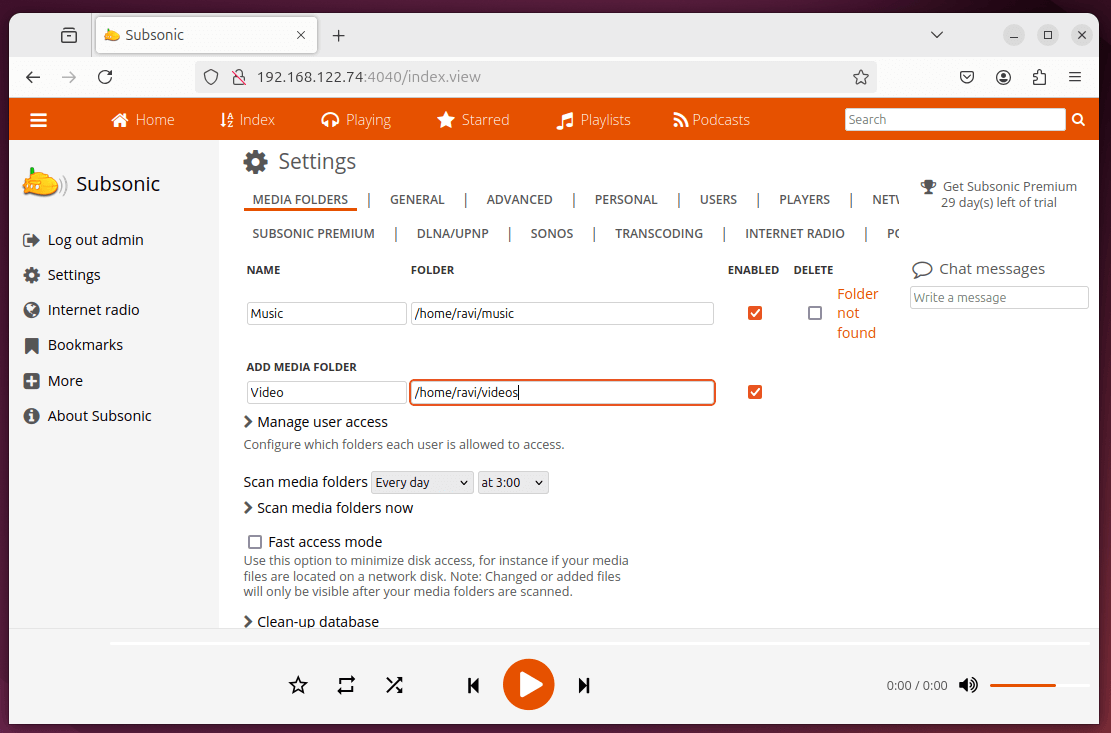
Click Save, and Subsonic will automatically scan the folders and add your media to its library.
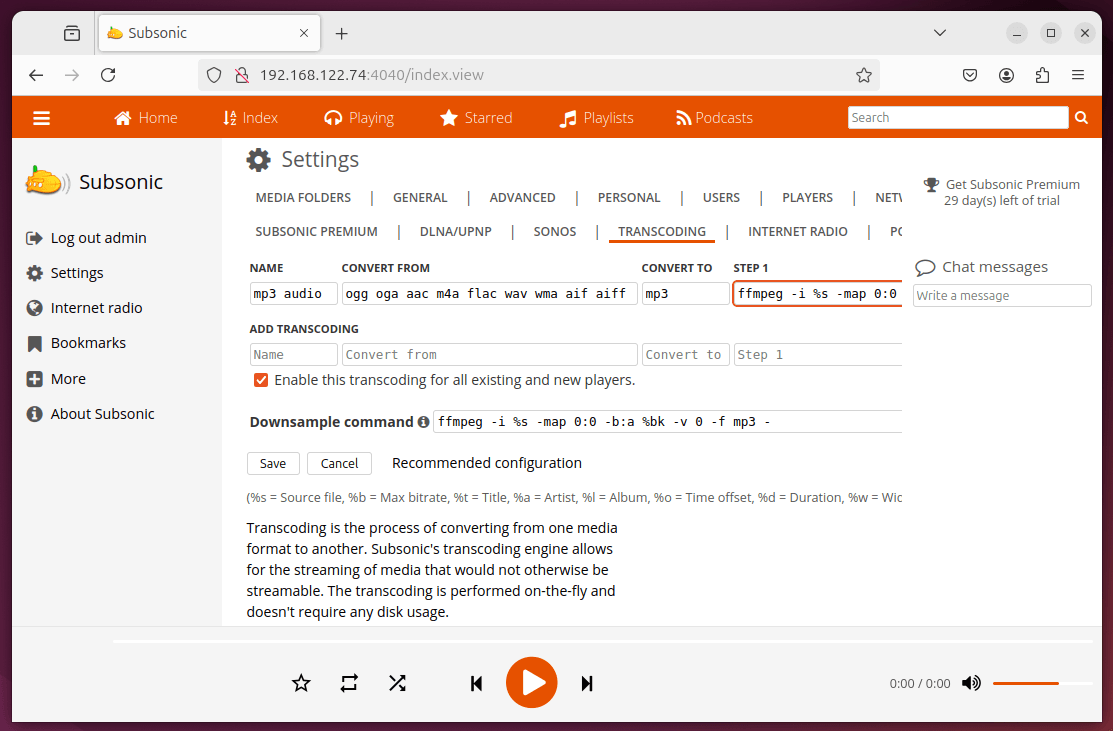
Step 3: Enable Transcoding for Media Compatibility
Subsonic supports real-time transcoding to ensure smooth playback of various file formats.
To enable transcoding:
- Go to Settings > Transcoding.
- Add the necessary transcoding commands for different formats:
ffmpeg -i %s -map 0:0 -b:a 128k -v 0 -f mp3 -
Click Save to apply changes.
Step 4: Configure Nginx/Apache as a Reverse Proxy for Subsonic
A reverse proxy forwards incoming HTTP/HTTPS requests to the Subsonic backend running on port 4040, which is not only improves security but also enables you to access Subsonic using a custom domain with HTTPS.
Option 1: Configure Nginx as a Reverse Proxy for Subsonic
If Nginx is not already installed, use the following command:
sudo apt install nginx -y
Create a new configuration file in /etc/nginx/sites-available/subsonic.conf.
sudo nano /etc/nginx/sites-available/subsonic.conf
Add the following content.
server {
    listen 80;
    server_name yourdomain.com www.yourdomain.com;

    location / {
        proxy_pass http://127.0.0.1:4040/;
        proxy_set_header Host $host;
        proxy_set_header X-Real-IP $remote_addr;
        proxy_set_header X-Forwarded-For $proxy_add_x_forwarded_for;
        proxy_set_header X-Forwarded-Proto $scheme;

        # Websocket support
        proxy_http_version 1.1;
        proxy_set_header Upgrade $http_upgrade;
        proxy_set_header Connection "upgrade";
    }

    # Enable Gzip for better performance
    gzip on;
    gzip_types text/plain text/css application/json application/javascript text/xml application/xml application/xml+rss text/javascript;
}
Next, enable the configuration and restart nginx.
sudo ln -s /etc/nginx/sites-available/subsonic.conf /etc/nginx/sites-enabled/
sudo systemctl restart nginx
Option 2: Configure Apache as a Reverse Proxy for Subsonic
If Apache is not already installed, run the following.
sudo apt install apache2 -y
To configure Apache as a reverse proxy, enable the required modules.
sudo a2enmod proxy
sudo a2enmod proxy_http
sudo a2enmod ssl
Create a new configuration file in /etc/apache2/sites-available/subsonic.conf.
sudo nano /etc/apache2/sites-available/subsonic.conf
Add the following content:
<VirtualHost *:80>
    ServerName yourdomain.com
    ServerAlias www.yourdomain.com

    ProxyRequests Off
    ProxyPass / http://127.0.0.1:4040/
    ProxyPassReverse / http://127.0.0.1:4040/

    <Proxy *>
        Order deny,allow
        Allow from all
    </Proxy>

    ErrorLog ${APACHE_LOG_DIR}/subsonic_error.log
    CustomLog ${APACHE_LOG_DIR}/subsonic_access.log combined
</VirtualHost>
Next, enable Subsonic configuration and restart Apache.
sudo a2ensite subsonic.conf
sudo systemctl restart apache2
Step 5: Secure Subsonic with HTTPS
By default, Subsonic runs on HTTP, which is not safe for sending data over the internet. To protect your connection, you should enable HTTPS (SSL/TLS encryption) using Let’s Encrypt & Certbot.
sudo apt update
sudo apt install certbot python3-certbot-nginx python3-certbot-apache -y
Once installed, certbot will create a certificate for your domain (replace yourdomain.com with your actual domain).
sudo certbot --nginx -d yourdomain.com -d www.yourdomain.com
OR
sudo certbot --apache -d yourdomain.com -d www.yourdomain.com
Now follow the prompts (you’ll need to enter an email for renewal reminders), and your certificate will be saved in /etc/letsencrypt/live/yourdomain.com/.
After configuration, you can access Subsonic securely via:
https://yourdomain.com
Step 6: Access Subsonic from Mobile Devices
Subsonic offers dedicated mobile apps that allow seamless streaming of your media on the go. These apps offer a smooth and intuitive interface, enabling you to play your music and videos from anywhere.
Concusion
Subsonic offers a robust, feature-packed alternative to legacy streaming platforms. Whether you’re streaming audio or video, it provides a secure, user-friendly experience with superior media management, transcoding, and remote access capabilities.
With Subsonic, you can enjoy your favorite media anytime, anywhere, making it the perfect media server for both home and enterprise use.