PHP is the most popular scripting language used to create dynamic websites, as it offers a range of new features and improvements that enhance performance and provide additional functionality.
If you want to use PHP 8 with Apache or Nginx on Ubuntu 24.04, follow this guide, which will help you install PHP 8 and configure it to work with both web servers.
Step 1: Install Apache or Nginx
When choosing between Apache and Nginx for your web server on Ubuntu 24.04, consider their key differences.
Apache offers flexible configuration with .htaccess files and a broad range of built-in features, making it ideal for complex setups and shared hosting environments. However, it can be less efficient in handling high traffic due to higher memory usage.
Nginx, on the other hand, excels in performance and scalability with its asynchronous, event-driven architecture, making it suitable for high-traffic sites and efficient resource management. It also works well as a reverse proxy or load balancer.
If you need advanced configurations and features, go with Apache; if you prioritize performance and efficiency, Nginx is the better choice. Alternatively, using Nginx as a reverse proxy in front of Apache combines the strengths of both servers.
Installing Apache on Ubuntu
First, it’s important to update your installed software package list to ensure that you have the most latest information about available packages.
sudo apt update
sudo apt upgrade -y
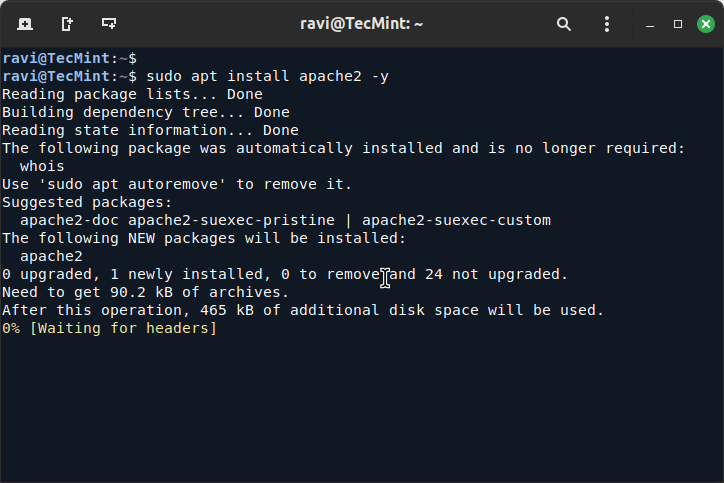
If you prefer to use Apache as your web server, install it using the following command:
sudo apt install apache2 -y
Installing Nginx on Ubuntu
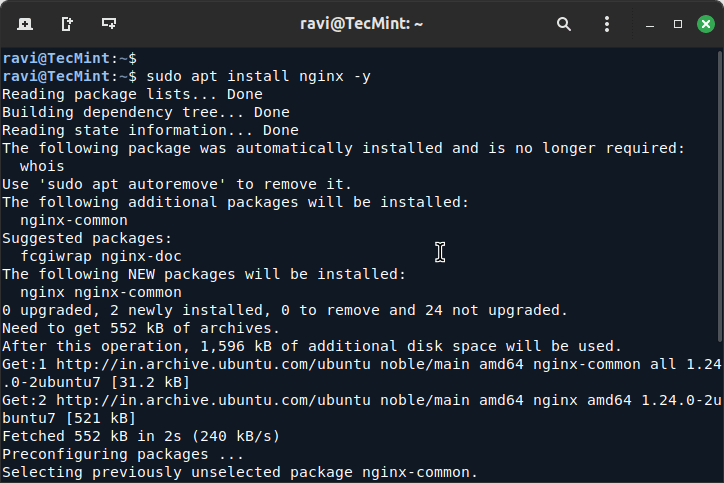
For those who choose Nginx, install it with:
sudo apt install nginx -y
Installing PHP 8.3 on Ubuntu
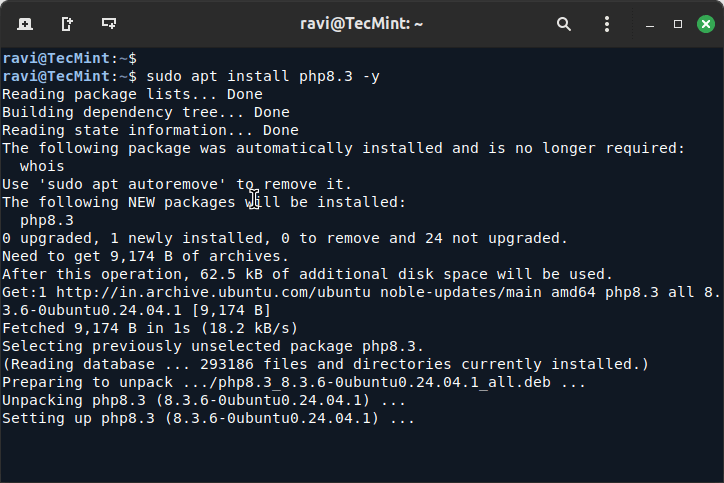
Ubuntu 24.04 comes with PHP 8.3 already included in its standard software repositories, which means you can install it directly from these repositories without needing to add any additional sources.
sudo apt install php8.3 -y
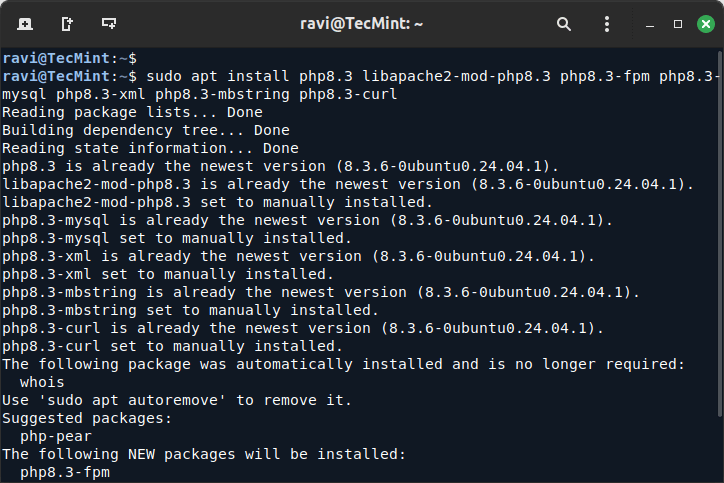
Depending on what your project needs, you might require extra features or capabilities from PHP, which are are provided by PHP extensions.
For example, if your project involves handling images, accessing databases, or working with different data formats, you’ll need specific extensions to support these functionalities.
sudo apt install php8.3 libapache2-mod-php8.3 php8.3-fpm php8.3-mysql php8.3-xml php8.3-mbstring php8.3-curl
Step 3: Configuring Apache to Use PHP
If you’ve installed Apache as your web server and want to use PHP 8.3, you need to activate the PHP module, which allows Apache to process PHP files and serve them correctly.
sudo systemctl restart apache2
To verify PHP is working with Apache, create a test PHP file:
echo "<?php phpinfo(); ?>" | sudo tee /var/www/html/info.php
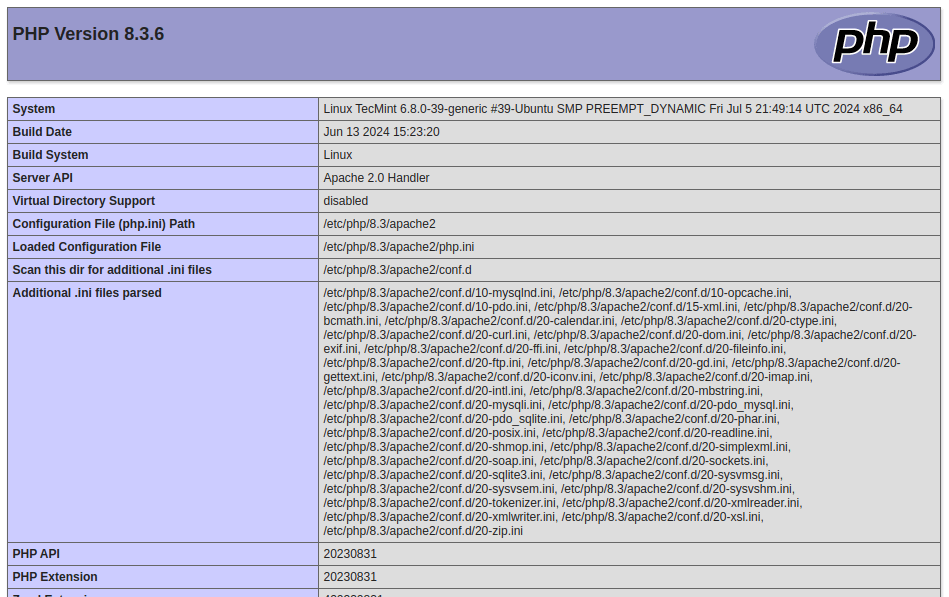
Now, open your web browser and navigate to the following URL, here you should see the PHP information page, confirming that PHP is correctly installed and configured.
http://your_server_ip/info.php
Step 4: Configuring Nginx to Use PHP-FPM
When using Nginx as your web server, PHP is processed through PHP-FPM (FastCGI Process Manager), which is a special service that handles PHP requests and runs them efficiently.
To configure Nginx to use PHP-FPM, you need to edit the default Nginx configuration file.
sudo nano /etc/nginx/sites-available/default
Look for the block that handles PHP files (it should be commented out) and modify it to look like this:
location ~ .php$ {
    include snippets/fastcgi-php.conf;
    fastcgi_pass unix:/var/run/php/php8.3-fpm.sock;
}
After making these changes, save the file and restart Nginx and PHP-FPM to apply the changes:
sudo systemctl restart nginx
sudo systemctl restart php8.3-fpm
To verify PHP is working with Nginx, create a test PHP file similar to the Apache setup:
echo "<?php phpinfo(); ?>" | sudo tee /var/www/html/info.php
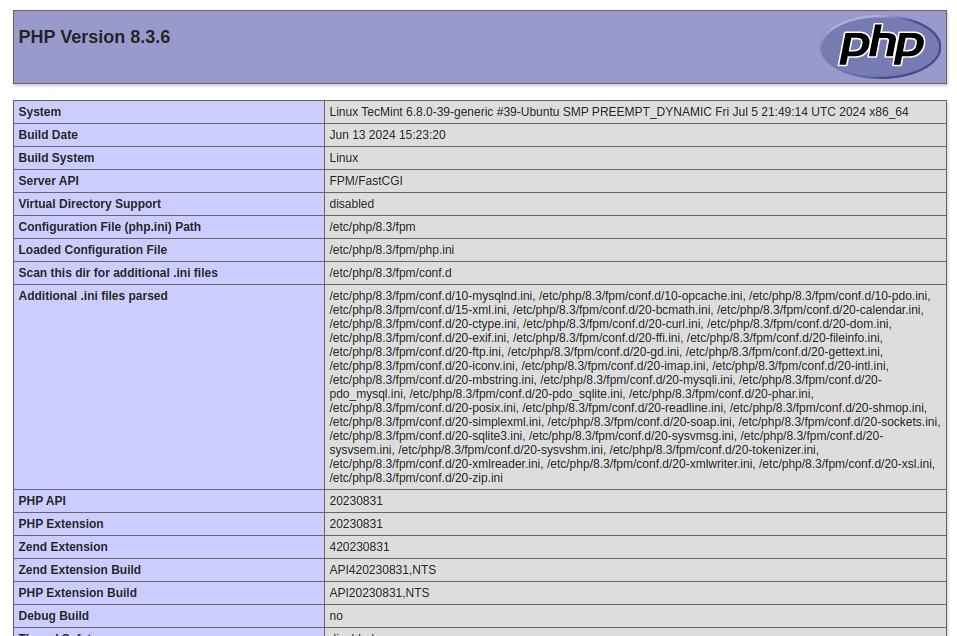
Now, open your web browser and navigate to the following URL, here you should see the PHP information page, confirming that PHP is correctly installed and configured.
http://your_server_ip/info.php
Conclusion
You have successfully installed PHP 8.3 on Ubuntu 24.04 and configured it to work with both Apache and Nginx.
Make sure to remove the info.php file after testing, as it can expose sensitive information about your PHP configuration:
sudo rm /var/www/html/info.php
With PHP 8.3 installed, you can now explore its new features and improvements, enhancing your web development projects.

