Apache NetBeans is a powerful, open-source, and award-winning Integrated Development Environment (IDE) that supports a wide range of programming languages and frameworks.
It is widely used for developing Java-based web, mobile, and desktop applications, as well as for C/C++, PHP, and other languages. With its rich feature set, extensibility through plugins, and support for the latest technologies, NetBeans remains a top choice for developers across platforms like Windows, Linux, and macOS.
The latest release is Apache NetBeans 24, which brings improved performance, enhanced tools, and support for the latest Java and other technologies.
This article will guide you through the steps to install Apache NetBeans 24 on Debian, Ubuntu, and Linux Mint distributions.
Key Features of Apache NetBeans 24
- It supports a wide range of languages, including Java, PHP, C/C++, HTML, XML, Groovy, JavaScript, and more.
- Rapid UI development with intuitive drag-and-drop tools.
- Features like code templates, refactoring, and syntax highlighting make coding faster and more efficient.
- Built-in support for Git, Mercurial, and Subversion.
- Includes support for Java SE, Java EE, Jakarta EE, and JavaFX.
- Extensibility: A rich ecosystem of community-developed plugins to enhance functionality.
- Runs seamlessly on Windows, Linux, and macOS.
Requirements:
- A desktop machine with at least 2GB of RAM (4GB recommended).
- JDK 17 or JDK 21 is required to run Apache NetBeans 24.
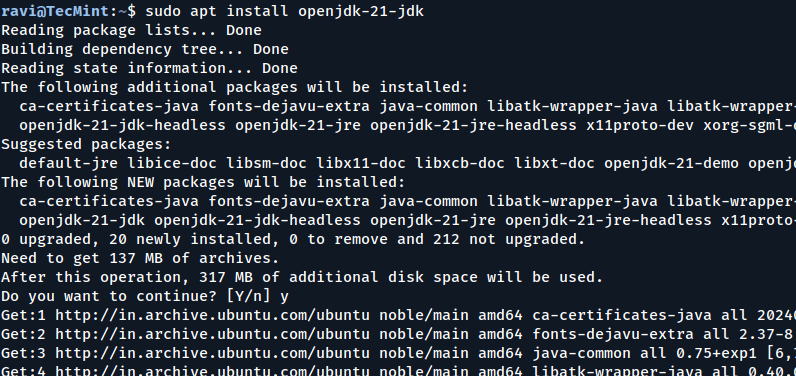
Step 1: Install Java Development Kit (JDK)
To install the most recent stable version of Apache NetBeans 24, first, you need to install Java JDK (JDK 17 or JDK 21) from the default repositories as shown.
sudo apt update
sudo apt install openjdk-17-jdk
OR
sudo apt install openjdk-21-jdk
java -version
Step 2: Download and Install Apache NetBeans 24
Now visit the official Apache NetBeans download page and download the .deb installer package using the following wget command.
wget https://dlcdn.apache.org/netbeans/netbeans-installers/24/apache-netbeans_24-1_all.deb
Once the download is complete, install the .deb package using the dpkg command as shown.
sudo dpkg -i apache-netbeans_24-1_all.deb
Once installed, you can launch NetBeans from the application menu or by running the following command in the terminal.
netbeans
Step 3: Getting Started with Apache NetBeans 24
When you first launch NetBeans, you’ll see the Start Page with options to create a new project, open an existing project, or learn more about NetBeans.
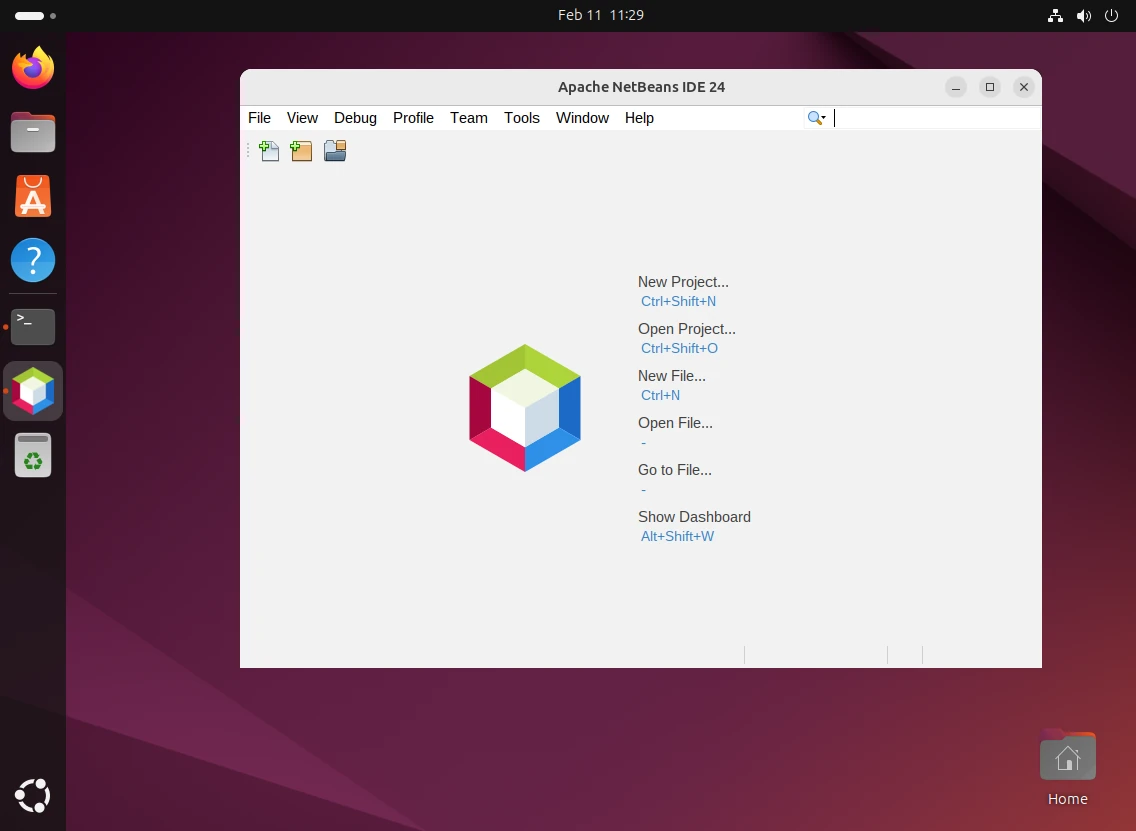
Here’s a quick overview of the interface:
- Menu Bar: Contains all the options for file management, editing, debugging, and more.
- Toolbar: Provides quick access to common actions like running, debugging, and saving projects.
- Projects Window: Displays your current projects and their structure.
- Editor Window: Where you write and edit your code.
- Navigator Window: Helps you navigate through classes, methods, and variables.
- Output Window: Shows build outputs, debug messages, and runtime logs.
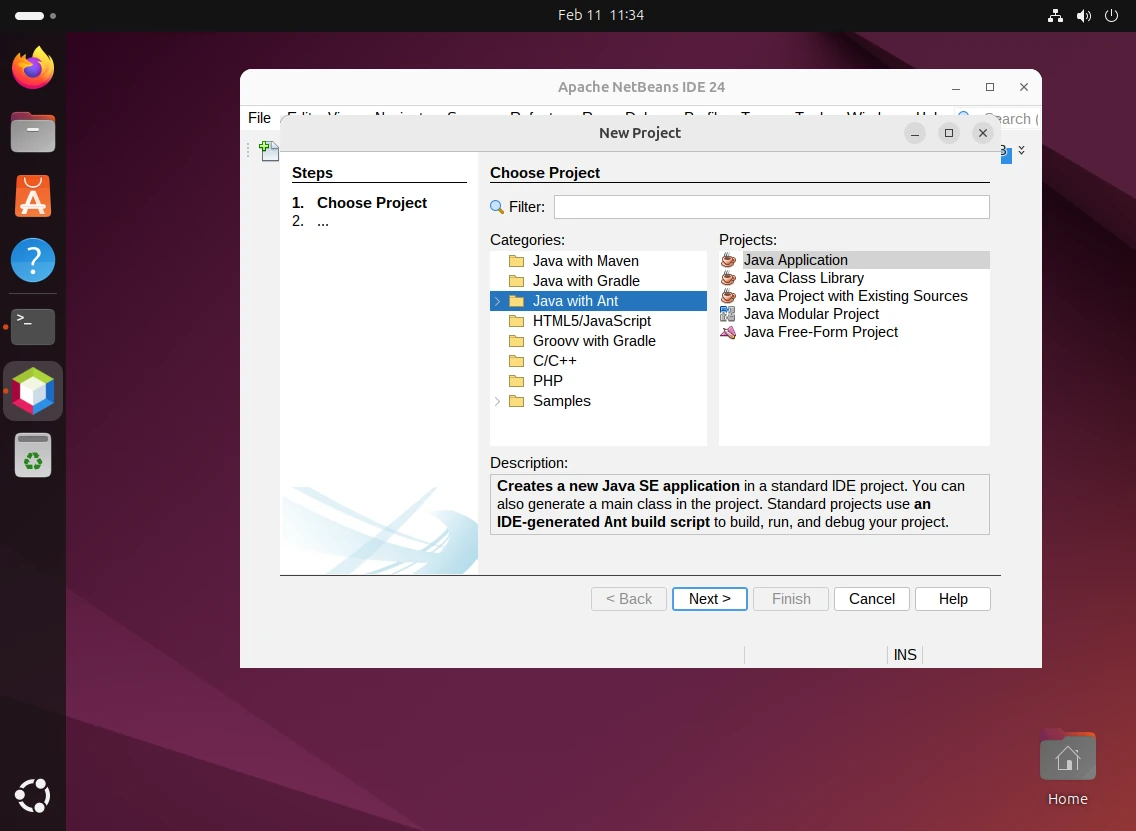
Creating Your First Project
Let’s create a simple Java project by going to File –> New Project, select Java with Ant under the Java category and choose Java Application, and click Next.
Enter a project name (e.g., MyFirstProject) and specify the project location (or leave it as the default). Optionally, check Create Main Class and provide a name (e.g., Main).
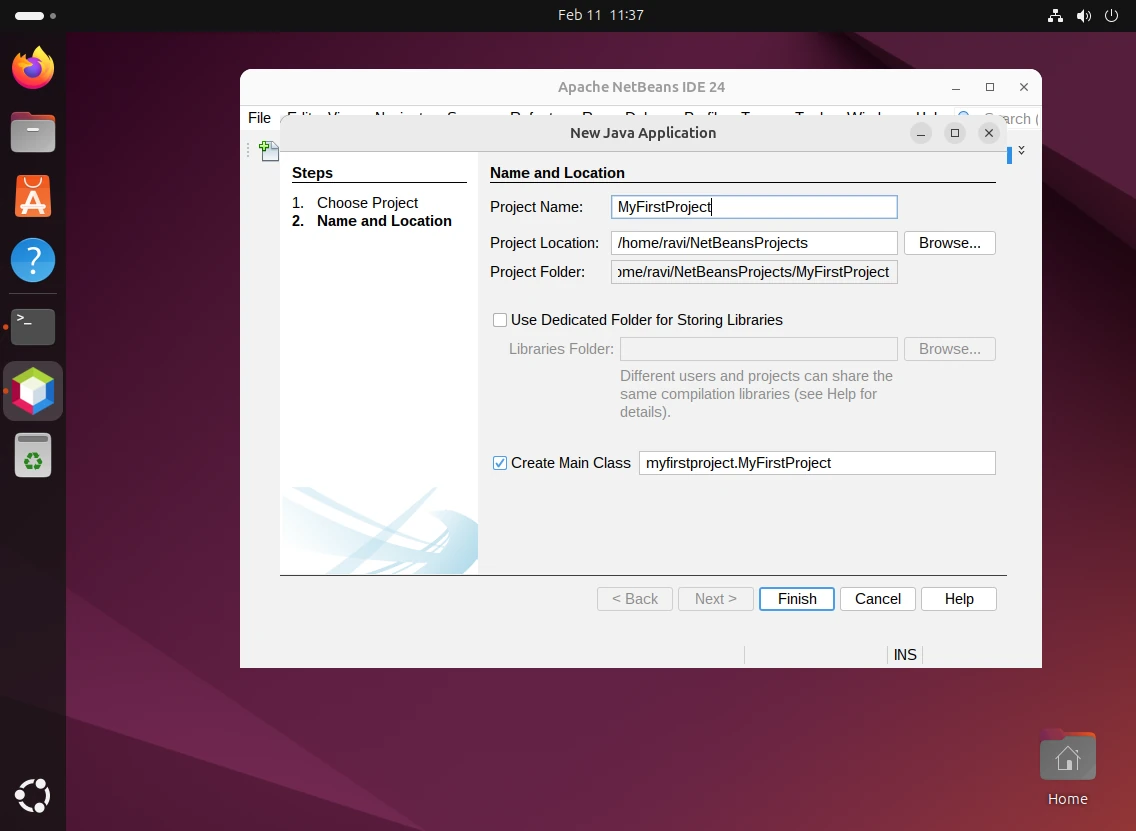
Click Finish.
Write Your First Code
In the Projects window, expand your project and open the MyFirstProject.java file under Source Packages.
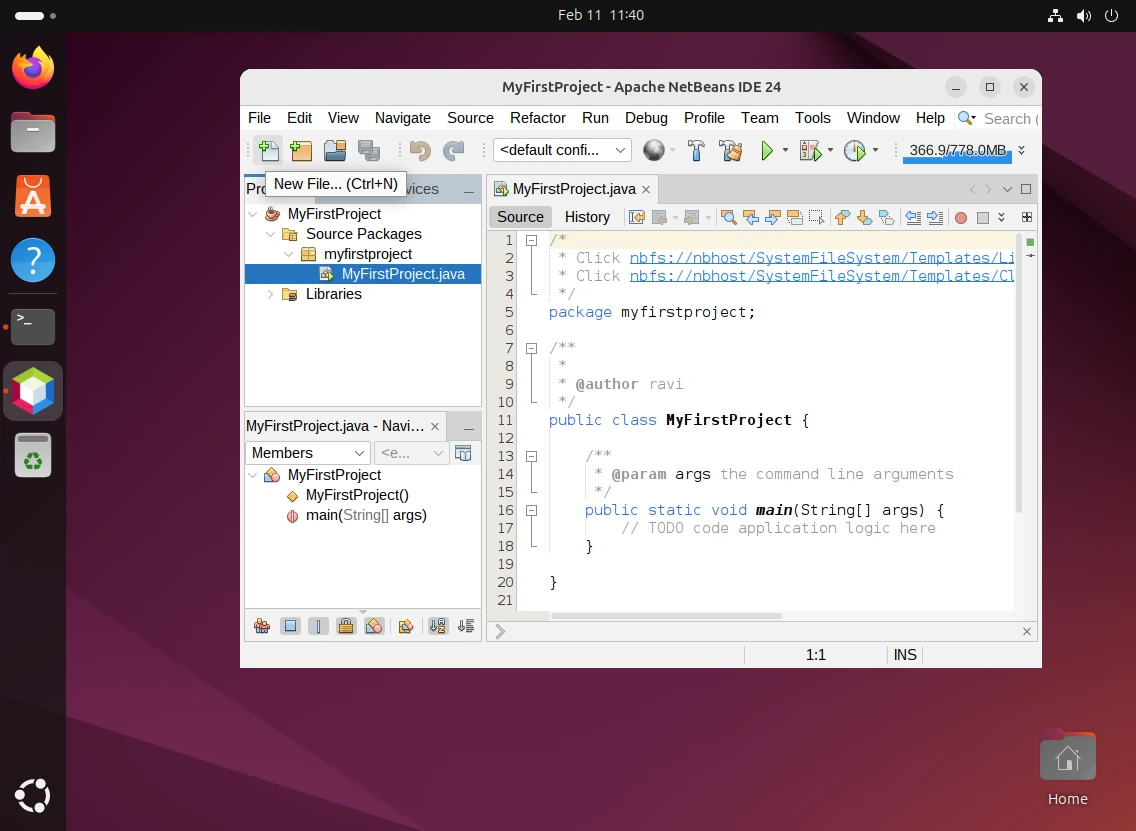
You’ll see a basic main method, here add a simple print statement:
public class Main {
    public static void main(String[] args) {
        System.out.println("Hello, NetBeans!");
    }
}
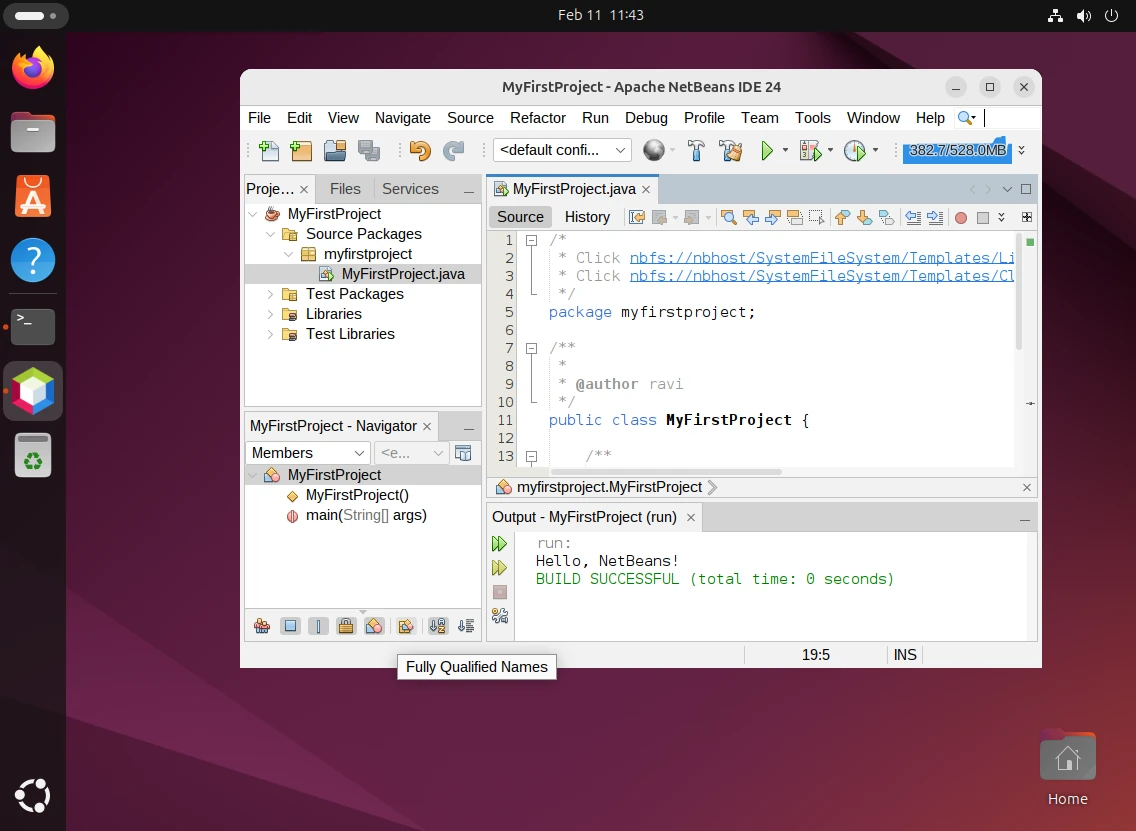
Right-click on the project in the Projects window and select Run. Alternatively, click the green Run button in the toolbar.
The Output window will display:
Conclusion
You’re now ready to use Apache NetBeans 24 for your development projects! Whether you’re building Java applications, working with PHP, or exploring other languages, NetBeans provides a robust and user-friendly environment to streamline your workflow.
If you have any questions or need further assistance, feel free to use the comment form below to ask or share your thoughts with us. For detailed guides and tutorials, visit the official Apache NetBeans Documentation.