Finally, repeat the process for Location 2 and you will have successfully added all objects from the LMs for Location 1 and 2.
Time to import Location 1’s Objects
Log into the Location 1 LM
Wait until successful
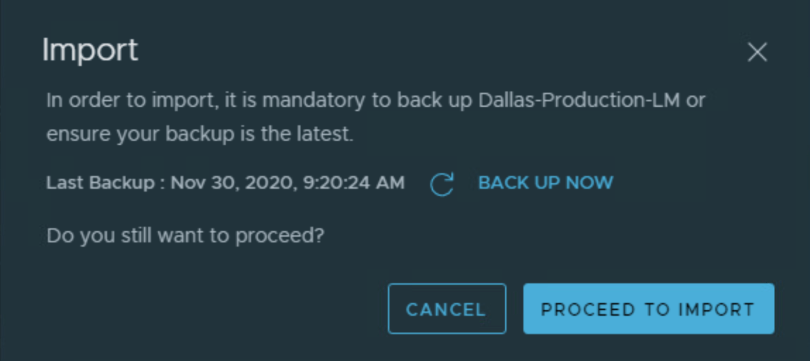
Ensure you have a backup
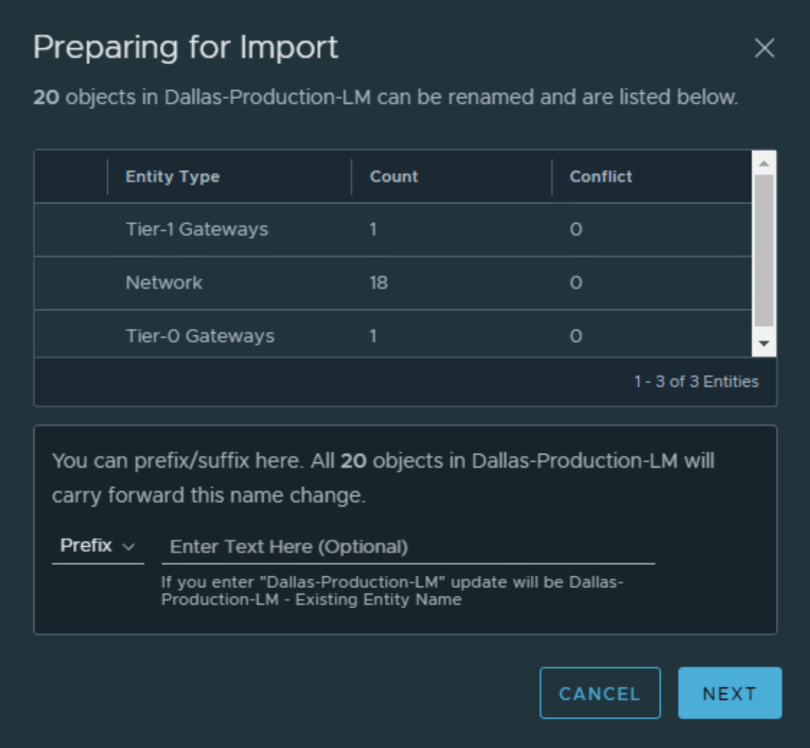
Confirm these are the accurate networks you desire to import
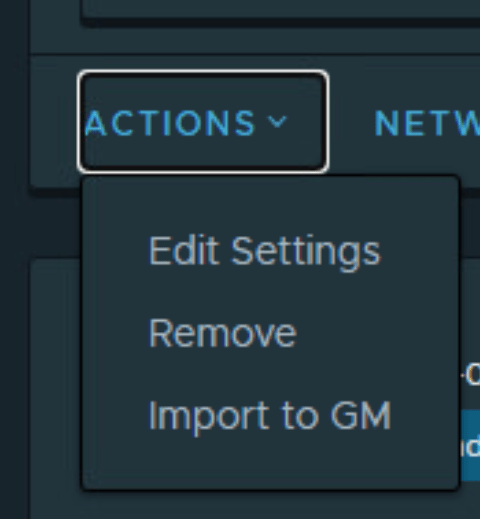
Under your Primary Site Local Manager select Actions > Import to GM
System > Configuration > Location Manager
To continue from where the previous article left off we will now import objects to the Global Managers
Log into your Primary Site NSX-T Global Manager
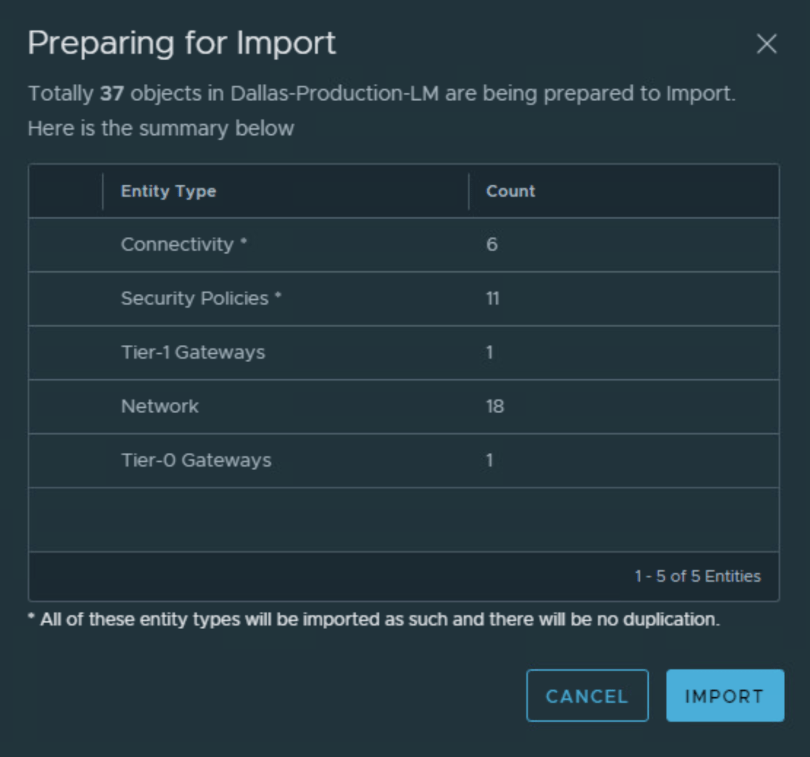
Click proceed to import
This process takes 10-20 minutes to complete

Check the status on all of your T0 GWs, T1 GWs, and segments
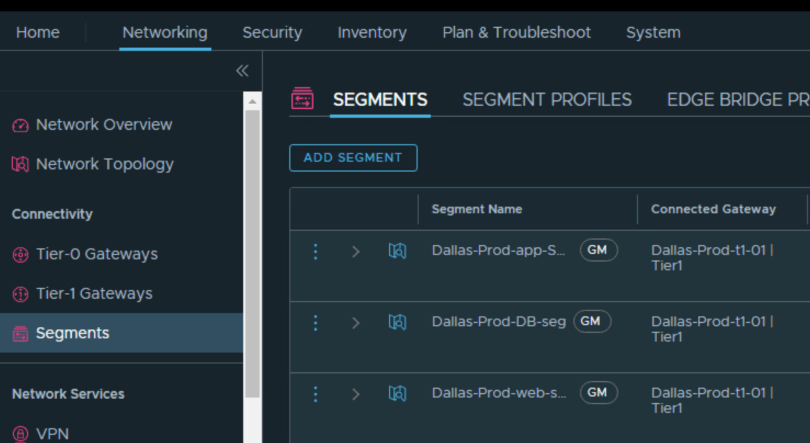
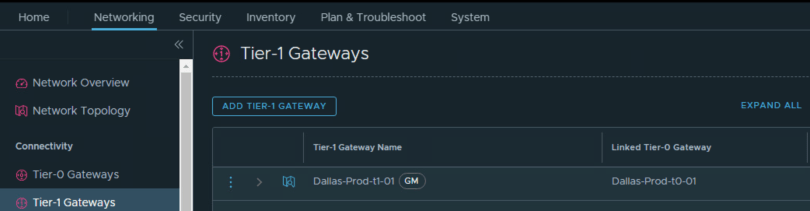
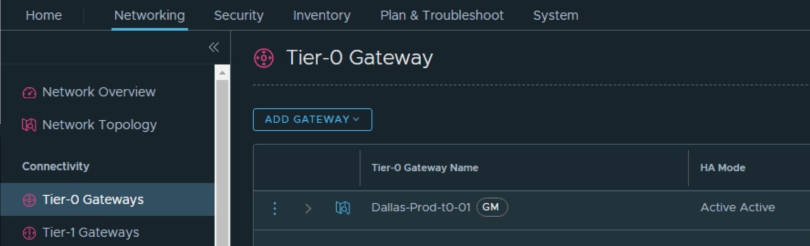
Confirm all components are now under the GM
Next
Pre-Req: