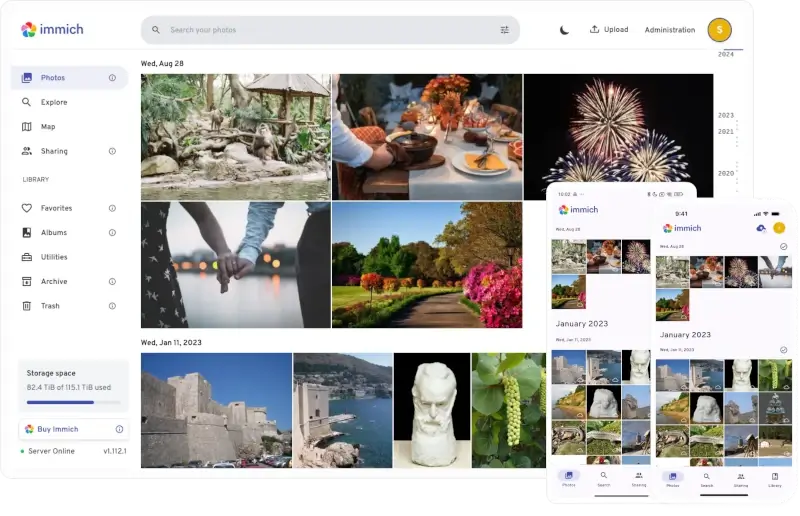
Immich is an open-source, self-hosted solution designed to help you back up and manage your photos and videos with ease. Offering features like automatic mobile uploads, facial recognition, and a sleek, user-friendly interface.
Immich serves as a powerful alternative to proprietary cloud services like Google Photos. By using Immich, you can keep your media private, fully under your control, and free from the constraints of centralized cloud storage providers.
It’s the ideal solution for anyone seeking a more secure and customizable way to manage their digital memories.
Prerequisites
Before installing Immich, make sure your system meets the following hardware and software requirements.
- A modern Linux operating system like Ubuntu, Debian, or similar.
- Minimum 4 GB; 6 GB or more recommended for better performance.
- Minimum 2 cores; 4 cores or more recommended, especially if you have multiple users or lots of media.
- Immich runs using Docker, so Docker must be installed on your system.
This guide will walk you through the steps to set up Immich, a self-hosted photo and video backup solution, on your Linux machine.
Step 1: Install Docker and Docker Compose
In this step, we’ll install Docker and Docker Compose, two essential tools that will allow us to run Immich and its associated services inside containers.
Let’s first install the latest available version of Docker, which is an open-source containerization platform that allows you to run applications in isolated environments known as containers.
sudo apt update
sudo apt install docker.io
After Docker is installed, we need to enable it so that it automatically starts when the system boots up.
sudo systemctl enable docker
sudo systemctl start docker
To verify Docker is running correctly, you can run:
sudo systemctl status docker

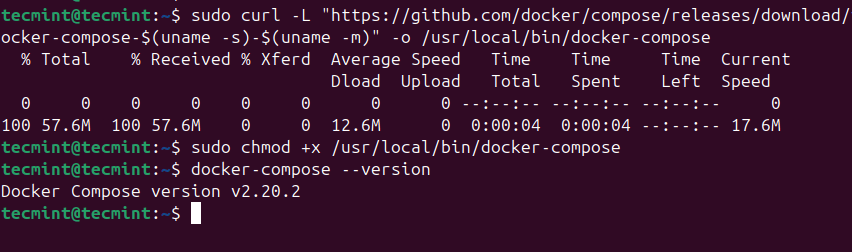
Next, install Docker Compose, which is a tool that allows you to define and manage multi-container Docker applications. W
sudo curl -L "https://github.com/docker/compose/releases/download/v2.20.2/docker-compose-$(uname -s)-$(uname -m)" -o /usr/local/bin/docker-compose
Once Docker Compose is downloaded, we need to make it executable so that we can run it as a command.
sudo chmod +x /usr/local/bin/docker-compose
Finally, let’s verify that Docker Compose is installed correctly by checking its version.
docker-compose --version
Step 2: Set Up Immich Using Docker Compose
This step is all about preparing your Linux machine to run Immich using Docker Compose, a tool that helps you manage multi-container applications.
Immich isn’t a single app, it needs a database (PostgreSQL), caching (Redis), a machine learning service, and the main Immich server all working together.
First, create a new dedicated directory to store everything related to Immich.
mkdir ~/immich-app
cd ~/immich-app
Next, download the required configuration files called docker-compose.yml and example.env.
wget -O docker-compose.yml https://github.com/immich-app/immich/releases/latest/download/docker-compose.yml
wget -O .env https://github.com/immich-app/immich/releases/latest/download/example.env
You’re downloading two key configuration files:
docker-compose.yml: This file defines the different services Immich needs (like the web server, database, and background workers)..env: A file that holds environment variables like passwords, storage paths, and time zones.
Step 3: Configure Environment Settings
The .env file is like the brain of your Docker setup, which tells the containers where to store data, what password to use, what timezone you’re in, and more.
Open the .env file with a text editor:
nano .env
Modify the following variables:
UPLOAD_LOCATION: Set the path where your media files will be stored.DB_DATA_LOCATION: Set the path for the database files.DB_PASSWORD: Set a strong password for the PostgreSQL database.TZ: Set your timezone (e.g., Asia/Kolkata).
After making the above changes, start the Immich containers, which will download the necessary images and start the containers in detached mode.
sudo docker-compose up -d
Verify the containers are running:
sudo docker ps
You should see containers for Immich services like immich-server, immich-machine-learning, postgres, and redis.

Step 4: Access the Immich Web Interface
Now that Immich is running on your Linux server, it’s time to access the web dashboard and set up your administrator account.
First, you need to know the IP address of the machine where Immich is running by using the following command, which will show your local IP address on your home or office network (LAN). If you’re hosting Immich on a VPS or cloud server, the IP will likely be public.
hostname -I
Now, open a web browser on any device connected to the same network (or the internet, if you’re using a public IP and have ports open), and type this into the address bar:
http://your-server-ip:2283
Make sure the port 2283 is not blocked by your firewall. If you can’t access the page, you might need to open that port or allow Docker traffic through your ufw firewall settings.
sudo ufw allow 2283/tcp
If you’re accessing the server from the same machine (e.g., you installed Immich on your personal computer), you can just use:
http://localhost:2283
When you first visit the Immich web interface, you’ll be greeted with an admin registration page. The first user you create is automatically assigned admin privileges, meaning they can manage settings, users, and more.
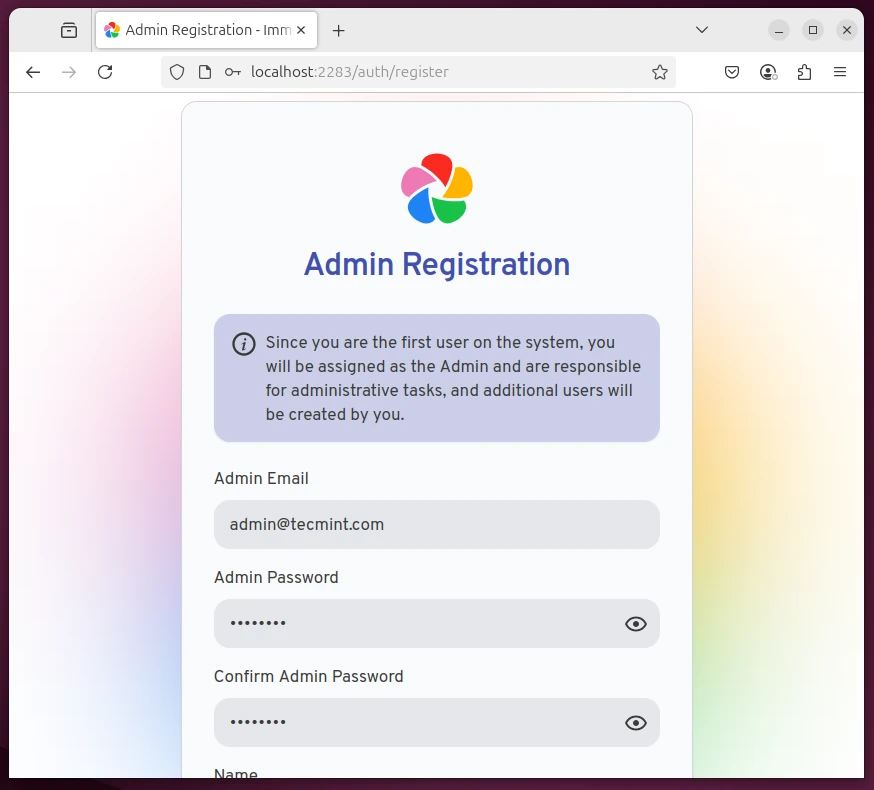
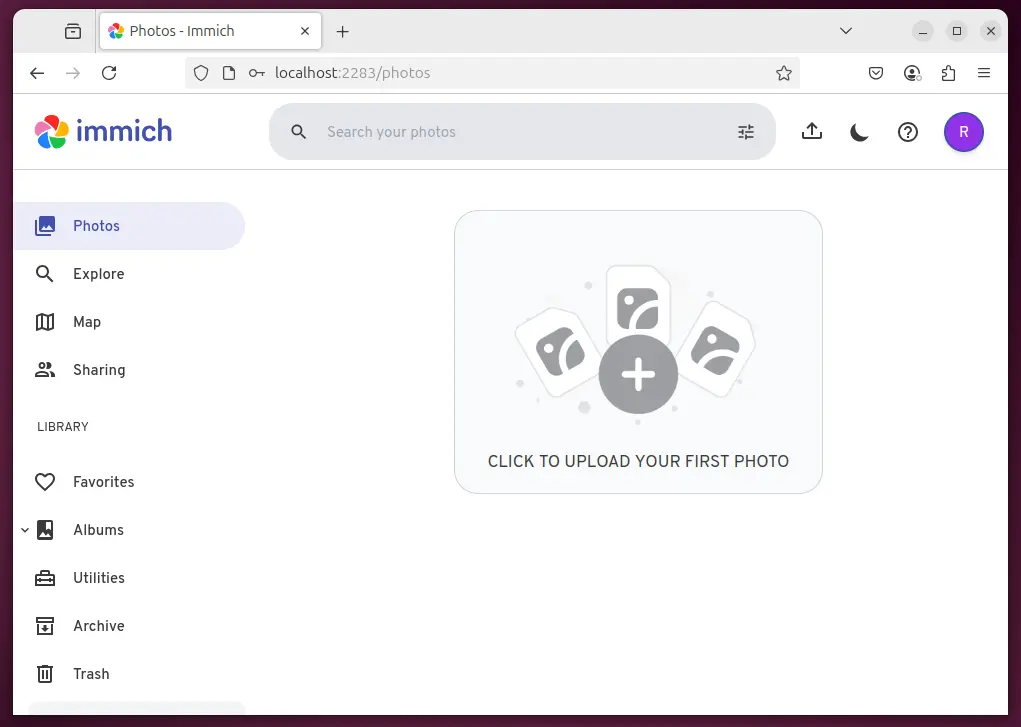
Once registered, you’ll be redirected to the main dashboard, where you can start uploading photos, invite other users, or connect the Immich mobile app.
Step 5: Install the Immich Mobile App
The mobile app lets you automatically back up your photos and videos from your phone directly to your self-hosted Immich server. Here’s how to install and configure the app for both Android and iOS devices.
Download the Immich mobile app:
- Android – Open the Play Store, search for “Immich“, and install the official app.
- iOS – Open the App Store, search for “Immich“, and install the app just like any other mobile app.
Once the app is installed, you’ll be prompted for the Server URL to connect it to your Immich server, where you need the actual local or public IP address of your Linux server (or your domain if you’ve set one up).
Use the credentials you created during the web interface setup. Also, within the app, enable the backup feature to automatically upload new photos and videos to your Immich server.
Step 6: Backing Up Database (PostgreSQL) and Media Files
Immich stores all user accounts, album data, metadata, facial recognition info, and more in a PostgreSQL database. If you lose this, your media might still exist, but the Immich app won’t know what to do with it.
docker-compose exec postgres pg_dump -U postgres immich > immich_db_backup.sql
This creates a .sql file that contains all your database structure and data. You can move this file to external storage, a cloud bucket, or wherever you keep your backups.
Next, you need to backup actual photos and videos, which are stored in a local directory — usually something like ./library (or whatever you defined in your .env file as UPLOAD_LOCATION).
cp -r ./library /path/to/backup/location
Step 7: Updating Immich
Immich is built on a set of Docker containers, and each component (like the server, machine learning module, PostgreSQL database, etc.) runs in its own container.
When the Immich team releases updates, they publish new Docker images. Updating your setup is simply a matter of pulling those new images and restarting your containers.
docker-compose pull
docker-compose up -d
After you’ve updated, the old images are no longer needed, so you can remove unused images to free up disk space.
docker image prune
Conclusion
By following this guide, you’ve successfully installed Immich on your Linux system using Docker Compose. If you’re new to self-hosting, this is a great step forward.
Immich isn’t just another photo viewer; it is a secure and modern alternative to cloud services like Google Photos. The big difference is that you control everything such as photos and videos, and you’re not limited by storage caps or privacy concerns.