If you’re working with networks, managing domains, or troubleshooting connectivity issues, two essential tools you’ll come across are dig and nslookup, both network utilities help you query domain name records, inspect DNS responses, and even verify mail servers or IP addresses associated with a domain.
In this guide, you’ll learn how to install dig and nslookup on major Linux distributions, how to use both tools effectively, and explore real-world examples for DNS lookups, reverse lookups, mail server checks, and more.
What Are dig and nslookup?
dig, short for Domain Information Gopher, is a DNS lookup utility used to query DNS name servers. It’s loved by system administrators because it provides detailed output and supports advanced DNS queries like SOA, MX, and TXT records.
nslookup is another command-line utility for querying DNS to obtain domain name or IP address mapping, which has a simpler output than dig, which is useful for quick lookups.
Installing dig and nslookup on Linux
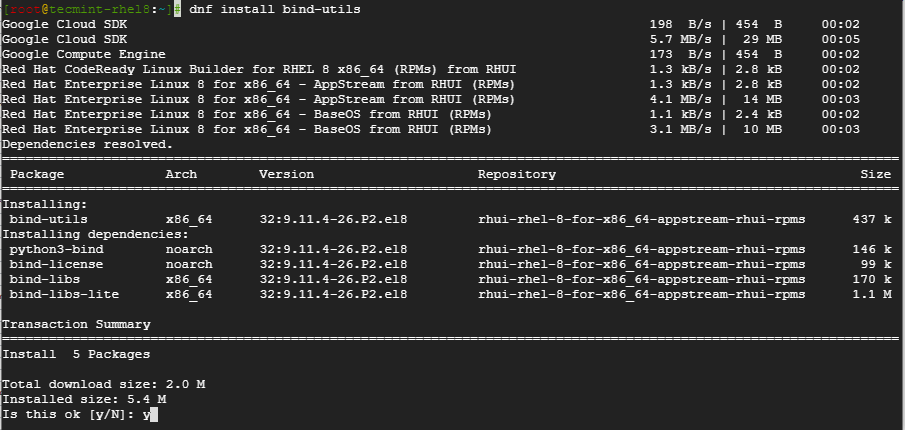
Newer Linux systems typically include both dig and nslookup utilities by default, but older distributions may not. These tools are usually bundled in packages like bind-utils or dnsutils, which can be installed manually if they’re missing.
sudo apt install dnsutils           [On Debian, Ubuntu and Mint]
sudo dnf install bind-utils         [On RHEL/CentOS/Fedora and Rocky/AlmaLinux]
sudo emerge -a sys-apps/dnsutils    [On Gentoo Linux]
sudo apk add bind-tools             [On Alpine Linux]
sudo pacman -Sy dnsutils            [On Arch Linux]
sudo zypper install bind-utils      [On OpenSUSE]
sudo pkg install dnsutils           [On FreeBSD]
How to Use dig Command (with Examples)
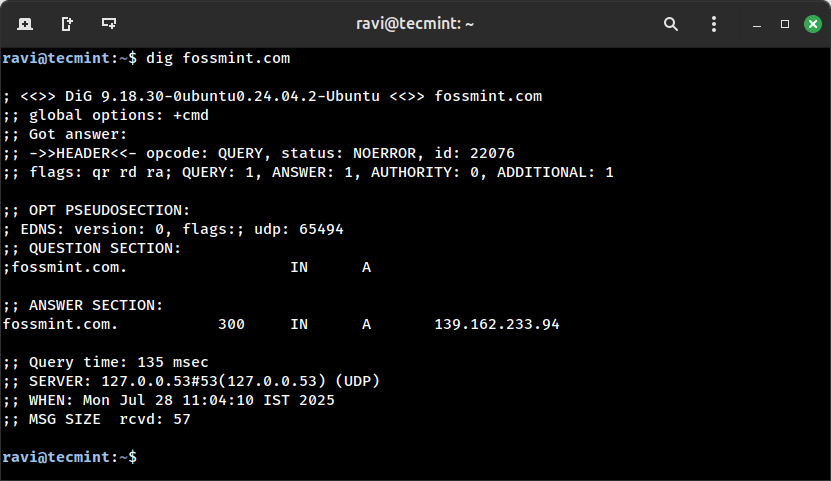
To perform a standard DNS query for a domain, use the dig command followed by the domain name:
dig fossmint.com
This command returns detailed DNS information, including the status of the query, the IP addresses associated with the domain, the DNS server that responded, query time, and more.
If you just want the IP addresses without the extra details, append the +short option:
dig fossmint.com +short
This provides a cleaner output, displaying only the resolved IP addresses.
139.162.233.94
To get the IPv6 address (also called an AAAA record) of a domain, run the following:
dig AAAA fossmint.com +short
To check the mail servers (MX records) configured for a domain:
dig fossmint.com MX +short
To see which name servers (NS records) are authoritative for a domain:
dig fossmint.com NS +short
To fetch the Start of Authority (SOA) record, which gives details like the primary DNS server and zone settings:
dig fossmint.com SOA +short
To view TXT records, which are often used for SPF, DKIM, domain verification, and other text-based DNS data:
dig fossmint.com TXT +short
To perform a reverse DNS lookup (find the domain name linked to an IP address), use the -x flag:
dig -x 104.27.179.254 +short
Finally, to trace the entire DNS resolution path, starting from the root name servers all the way to the authoritative server:
dig fossmint.com +trace
How to Use nslookup Command (with Examples)
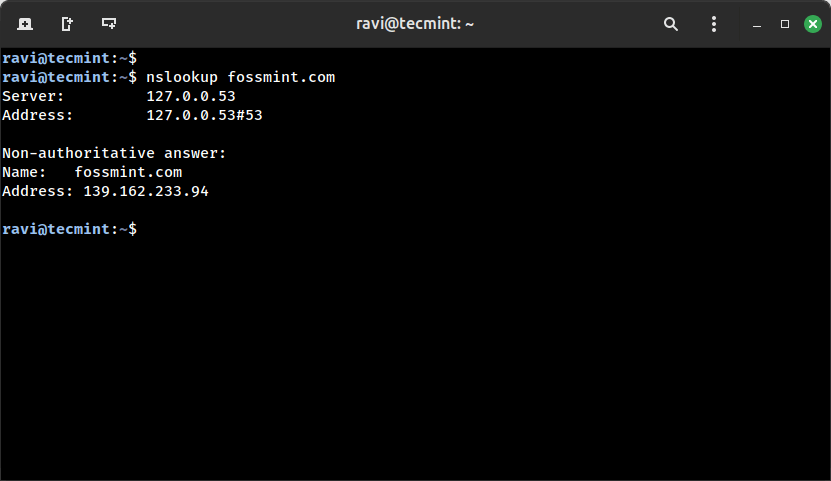
To retrieve information about a domain name using the nslookup utility, use the following command.
nslookup fossmint.com
To query a domain using a specific DNS server, such as Cloudflare (1.1.1.1), use:
nslookup fossmint.com 1.1.1.1
If you want to perform a reverse DNS lookup, simply enter an IP address instead of a domain name:
nslookup 104.27.179.254
To retrieve the mail server (MX) records for a domain, use the -query=mx option:
nslookup -query=mx fossmint.com
Lastly, to view TXT records, which are often used for SPF, DKIM, and domain verification, run:
nslookup -query=txt fossmint.com
Conclusion
In this article, you learned how to install the dig and nslookup command utilities in different Linux distributions and also the basic usage of the commands.
We do hope that you can now comfortably install the utilities when confronted with a system without them.