When managing software packages on Debian/Ubuntu-based systems, it’s common to add external repositories or Personal Package Archives (PPAs) to install software that isn’t available in the default repositories.
However, sometimes you might encounter an error like this:
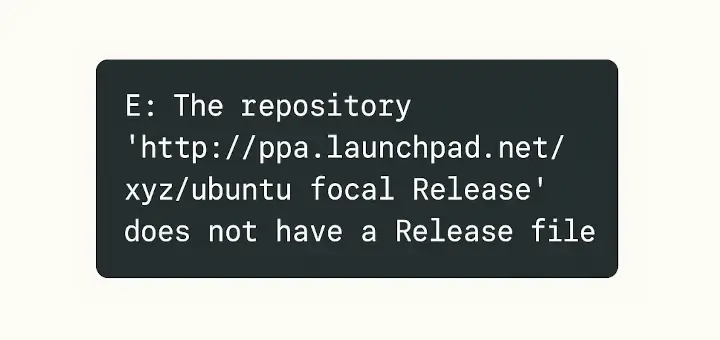
E: The repository 'http://ppa.launchpad.net/xyz/ubuntu focal Release' does not have a Release file.
This error can prevent the apt command from installing or updating packages from that source.
Why Does the ‘No Release File’ Error Occur?
This error typically occurs when the repository:
- Does not support your current Ubuntu version.
- Has been removed or is no longer maintained.
- Uses an incorrect URL.
- Lacks a valid Release file, which contains essential metadata required for package verification.
To prevent installing unverified packages and compromising system security, apt blocks repositories that do not provide a Release file.
Step 1: Check the PPA/Repository URL
Before taking any action, verify that the repository URL is correct and accessible by doing a system update.
sudo apt update
If you see an error message like:
E: The repository 'http://ppa.launchpad.net/xyz/ubuntu focal Release' does not have a Release file.
Here’s what to do:
-
- Check if the PPA is available: Open a browser and go to
https://launchpad.net/~xyzto see if the PPA exists and supports your Ubuntu version. - Check your Ubuntu version: Run the following command to get your Ubuntu codename:
- Check if the PPA is available: Open a browser and go to
lsb_release -sc
You’ll see a codename such as focal, jammy, or noble. Make sure this codename matches the one used in the repository URL.
Step 2: Edit the Source List
If the repository URL points to an incorrect release or an unsupported version, you’ll need to update or remove it.
Open the source list for the PPA:
sudo nano /etc/apt/sources.list.d/xyz-ubuntu-ppa-focal.list
Look for the line that contains the repository URL, here you have two options:
-
- Comment out the faulty line by adding a
#at the beginning:
- Comment out the faulty line by adding a
# deb http://ppa.launchpad.net/xyz/ubuntu focal main
-
- Update the codename if the repository supports a different version.
deb http://ppa.launchpad.net/xyz/ubuntu jammy main
Save and exit by pressing CTRL + X, then Y, and hit Enter.
Step 3: Remove the Problematic PPA
If the PPA is no longer maintained or available, it’s best to remove it.
sudo add-apt-repository --remove ppa:xyz/ppa
If that doesn’t work, manually delete the corresponding file:
sudo rm /etc/apt/sources.list.d/xyz-ubuntu-ppa-focal.list
Step 4: Use a Supported Version
If the PPA doesn’t support your current Ubuntu version, you can try using a previous version that is still supported.
Modify the PPA entry in the sources.list file:
sudo sed -i 's/noble/focal/g' /etc/apt/sources.list.d/xyz-ubuntu-ppa-noble.list
However, using an older version can lead to dependency conflicts, so proceed with caution.
Alternatively, check if the required package is available from official repositories:
apt search package-name
Step 5: Explore Alternative Package Sources
If the software isn’t available in the official repositories or PPAs, consider using alternative package managers:
Flatpak: Provides cross-distribution compatibility and sandboxing.
sudo apt install flatpak
Snap: Offers containerized packages managed by Canonical.
sudo apt install snapd
Step 6: Use Docker for Unsupported Applications
If the application is unavailable through PPAs or package managers, you can use Docker to run it in an isolated container.
sudo apt install docker.io
Run the application inside a Docker container:
docker run app-name
Docker provides a secure and flexible way to run unsupported applications without modifying your system.
Step 7: Manually Download and Install Packages
As a last resort, you can manually download .deb packages and install them, you can visit Ubuntu Packages to search for and download the required package.
Install the package using:
sudo dpkg -i package-name.deb
If there are dependency issues, resolve them with:
sudo apt -f install
Step 8: Final Step: Update Your System
After making the necessary changes, update your system to reflect the modifications:
sudo apt update && sudo apt upgrade -y
This ensures your package database is refreshed and your system remains secure.
Conclusion
Encountering the “No Release file” error when using a PPA or external repository can be frustrating, but following these troubleshooting steps helps maintain system stability and security.
Whenever possible, prefer official repositories or containerized solutions like Flatpak, Snap, or Docker to avoid future issues.


