Genymotion is a powerful Android emulator used by developers and testers to simulate Android devices on their computers. It allows users to test apps, games, and other software in a virtual environment without needing physical devices.
In this article, we will guide you step-by-step on how to install Genymotion Desktop on Ubuntu 24.04.
Prerequisites
Before starting the installation process, ensure that your system meets the following requirements:
- Make sure your computer is running Ubuntu 24.04.
- A stable internet connection is required to download the necessary files.
- Ensure you have enough free space on your hard drive (at least 2 GB for Genymotion and additional space for virtual devices).
- Your computer must support virtualization (Intel VT-x or AMD-V), you can enable this in your BIOS/UEFI settings if it’s not already enabled.
- You need a Genymotion account to use the software, if you don’t have one, sign up for free at Genymotion’s website.
Install Genymotion on Ubuntu
Before installing any new software, it’s always a good idea to update your system to ensure all packages are up-to-date.
sudo apt update
sudo apt upgrade -y
Once the process is complete, you can visit the official Genymotion download page and choose the version of Genymotion Desktop compatible with Linux.
Alternatively, you can use the wget command in the terminal to download the file directly.
wget https://dl.genymotion.com/releases/genymotion-3.8.0/genymotion-3.8.0-linux_x64.bin
After downloading the .bin file, you need to make it executable and run the following installer.
chmod +x genymotion-3.8.0-linux_x64.bin
./genymotion-3.8.0-linux_x64.bin
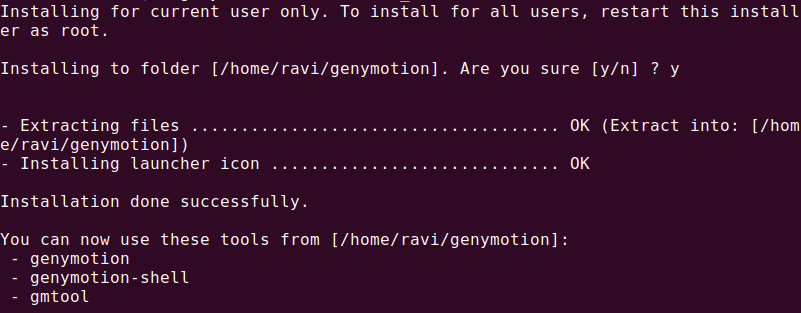
The installer will prompt you to choose an installation directory, simply press Enter to accept the default location or specify a custom path and wait for the installation process to complete. Once done, you’ll see a success message.
Getting Started with Genymotion on Ubuntu
Once the installation is complete, you can launch Genymotion from the terminal or your application menu. To launch it from the terminal, navigate to the installation directory and run:
cd genymotion/
./genymotion
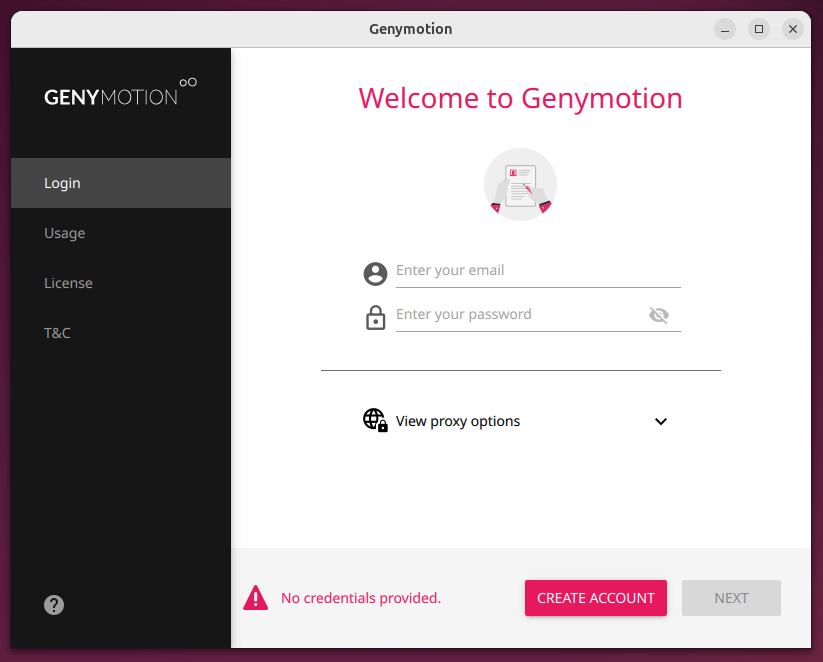
When you open Genymotion for the first time, you’ll be prompted to log in with your Genymotion account. If you don’t have an account, you can create one for free on the Genymotion website.
Once logged in, you can start downloading virtual devices and testing your applications.
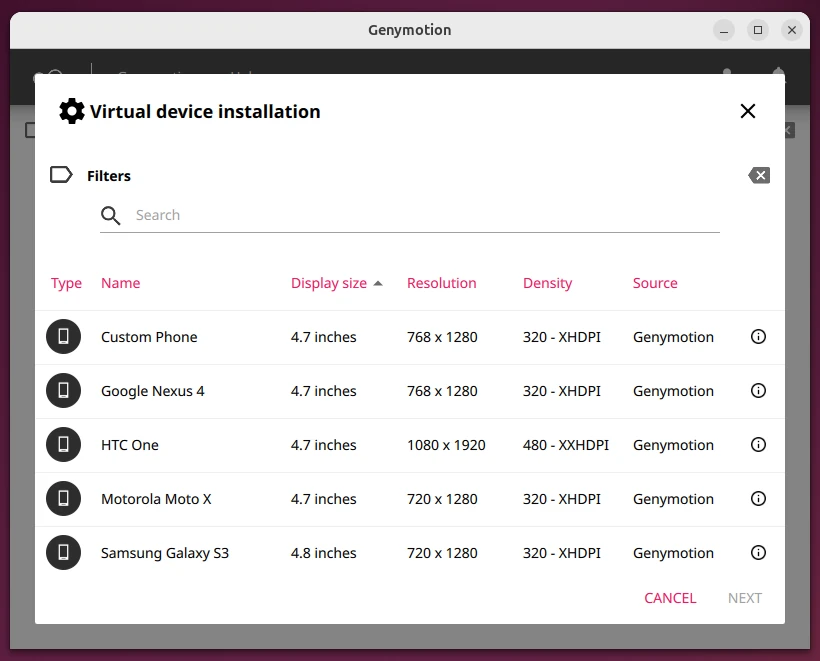
- Click on the Add button to create a new device.
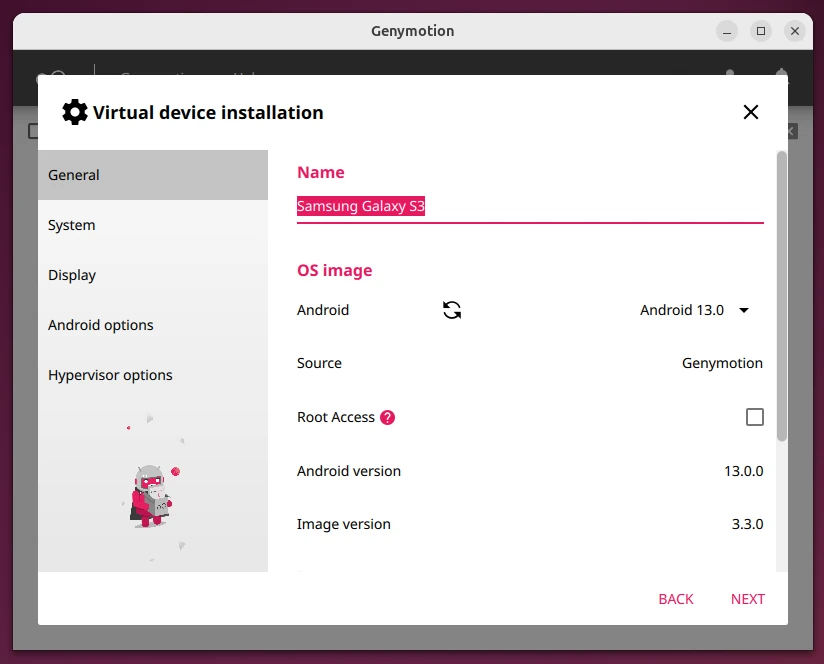
- Select the Android version and device model you want to emulate.
- Click Next and follow the prompts to complete the setup.
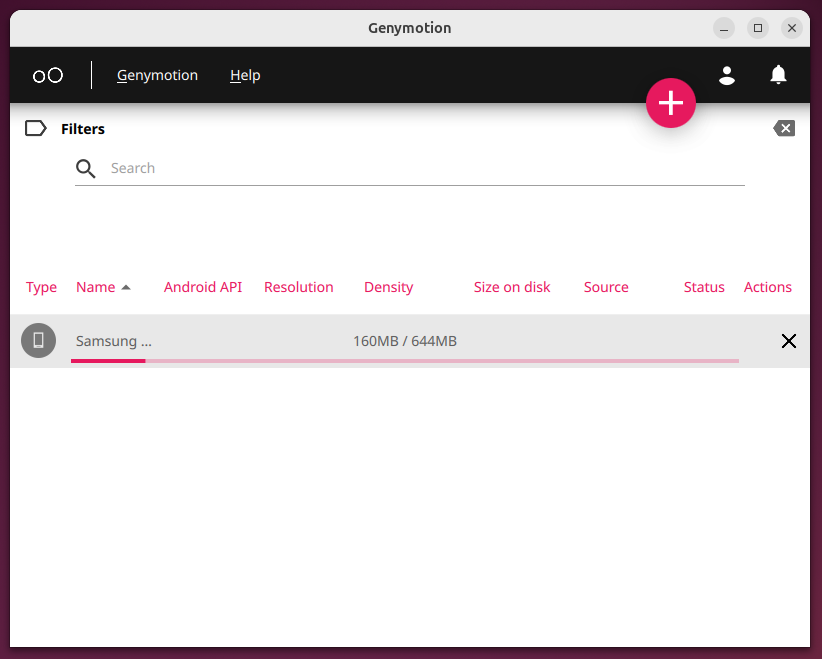
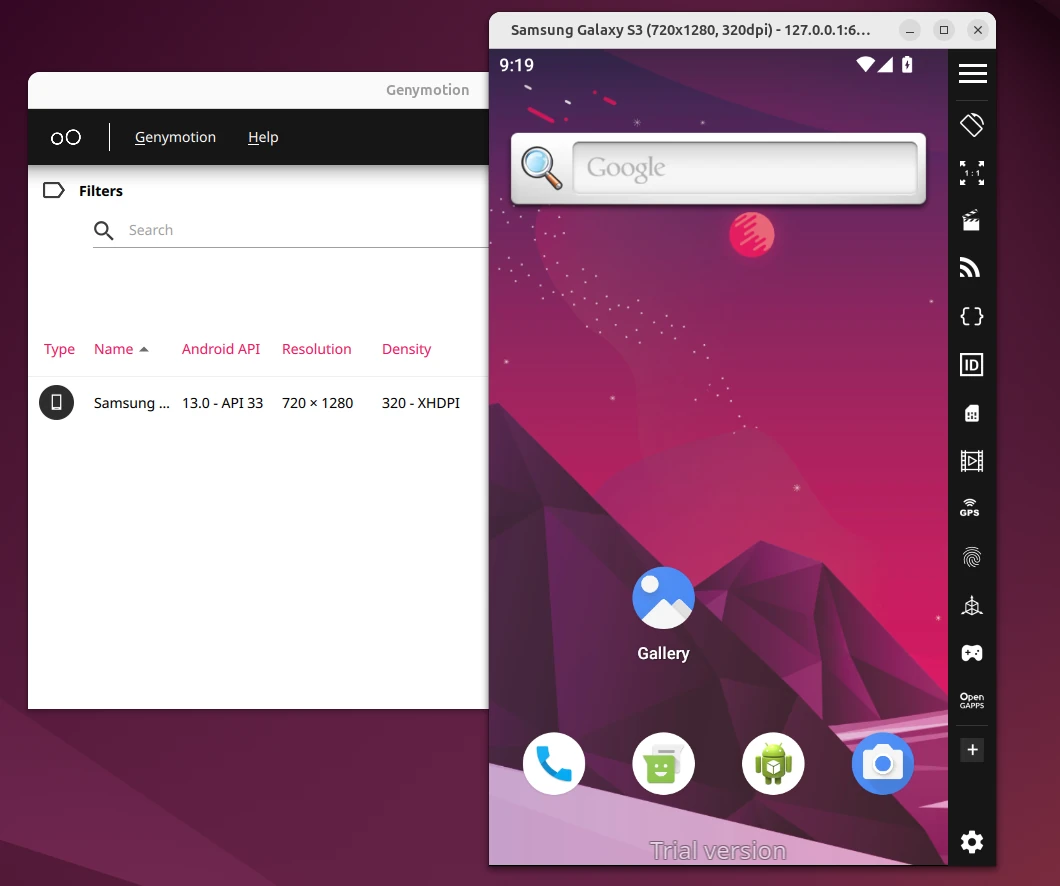
Once the virtual device is created, you can start it by clicking the Play button.
If you are a developer using Android Studio, you can integrate Genymotion with it for seamless app testing.
To do this:
- Open Android Studio.
- Go to File > Settings > Plugins.
- Search for “Genymotion” and install the plugin.
Restart Android Studio and configure the plugin with your Genymotion installation path.
Troubleshooting Tips
- If the virtual device shows a black screen, ensure that your system supports virtualization and that it is enabled in the BIOS/UEFI settings.
- If you experience network connectivity problems, check your firewall settings and ensure Genymotion has the necessary permissions.
- Allocate more RAM and CPU resources to Genymotion in the settings for better performance.
Remove Genymotion from Ubuntu
If you no longer need Genymotion on your Ubuntu 24.04 system, you can easily remove it by deleting the installation directory (ex: /home/your-username/genymotion).
rm -rf ~/genymotion
Genymotion stores configuration files and virtual device data in your home directory.
rm -rf ~/.Genymobile
rm -rf ~/.config/Genymotion
If you added Genymotion to your application menu, you may want to remove its desktop entry.
rm ~/.local/share/applications/genymobile-genymotion.desktop
To ensure Genymotion is completely removed, you can search for any remaining files:
sudo find / -name "*genymotion*"
If no files are found, Genymotion has been successfully removed from your system.
Conclusion
Installing Genymotion Desktop on Ubuntu 24.04 is a simple process that can be completed in a few steps. By following this guide, you can set up Genymotion and start running virtual Android devices on your system.
Whether you’re a developer testing apps or a user exploring Android, Genymotion is a powerful tool that works seamlessly on Ubuntu. Enjoy your Android emulation experience!