The Fedora Project is excited to share that Fedora Linux 41 is now officially released and comes with GNOME 47 and KDE Plasma 6.2 for desktop systems, along with the Wayland graphics stack.
Fedora is a community-driven project that is sponsored by Red Hat, and it is used by a wide array of users, including system administrators, desktop users, and software developers.
What’s new in Fedora 41
Fedora 41 has introduced several notable features and improvements aimed at enhancing user experience and system performance.
Here are some key highlights:
- GNOME 47: This update allows users to customize accent colors, giving a more personalized touch to the desktop environment.
- Nautilus File Manager Enhancements: The file manager has been improved to allow customization of the sidebar, enabling users to remove unwanted bookmarks for a cleaner interface.
- Modernized Dialogue Windows: There are visual refinements in dialog boxes and buttons, enhancing clarity during user interactions.
- Small Screen Support: It provides better scaling for icons, improving usability on compact devices.
- NVIDIA Driver Support: The release offers improved support for NVIDIA drivers, making it easier to use them with secure boot enabled.
- Updated Linux Kernel: It comes with Linux Kernel 6.11, which includes various performance enhancements and support for newer hardware.
- DNF 5: The package manager has been upgraded to DNF 5, which is designed to be faster and require fewer dependencies.
In this guide, we’ll walk you through the step-by-step process of upgrading your Fedora 40 to Fedora 41 to enjoy all the new features!
How to Upgrade Fedora 40 to Fedora 41
If you are currently using the prior release, Fedora 40, you can upgrade your system to the latest version, Fedora 41, either through a command-line method or with the user-friendly graphical update provided by GNOME Software.
Upgrading Fedora 40 Using Command-Line
To upgrade from Fedora 40 to Fedora 41 via the command line, you can utilize the dnf-plugin-system-upgrade plugin, which is integrated with the DNF package manager to facilitate the seamless upgrade of your system to the latest Fedora release.
Step 1: Update Fedora 40 (Required)
Before moving to the new version, it’s important to update your Fedora 40 system packages to most latest and most compatible versions.
sudo dnf upgrade --refresh
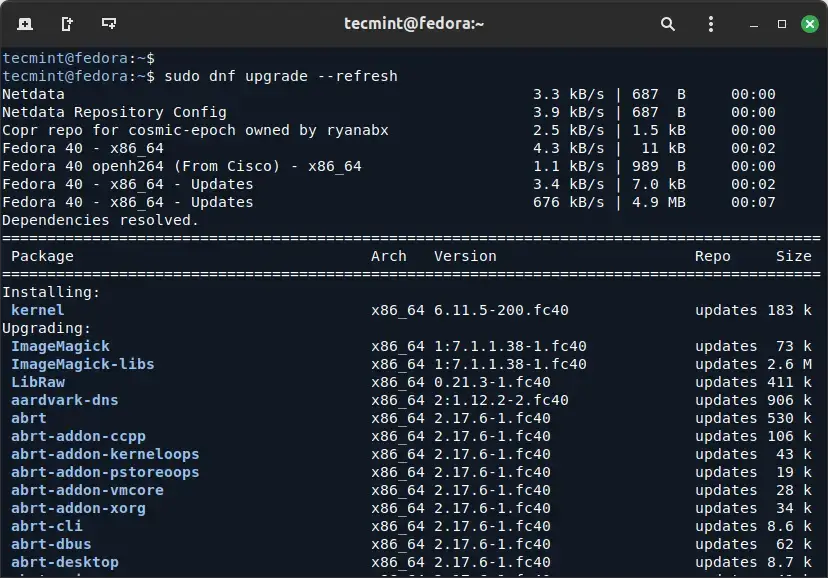
Updating your system is essential for obtaining the signing keys of newer releases and addressing potential issues during the upgrade process.
Step 2: Install the DNF-plugin-system-upgrade Package on Fedora
Once the system upgrade is completed, you can install the dnf-plugin-system-upgrade plugin, which is a command-line tool for upgrading Fedora systems to a new major release.
sudo dnf install dnf-plugin-system-upgrade
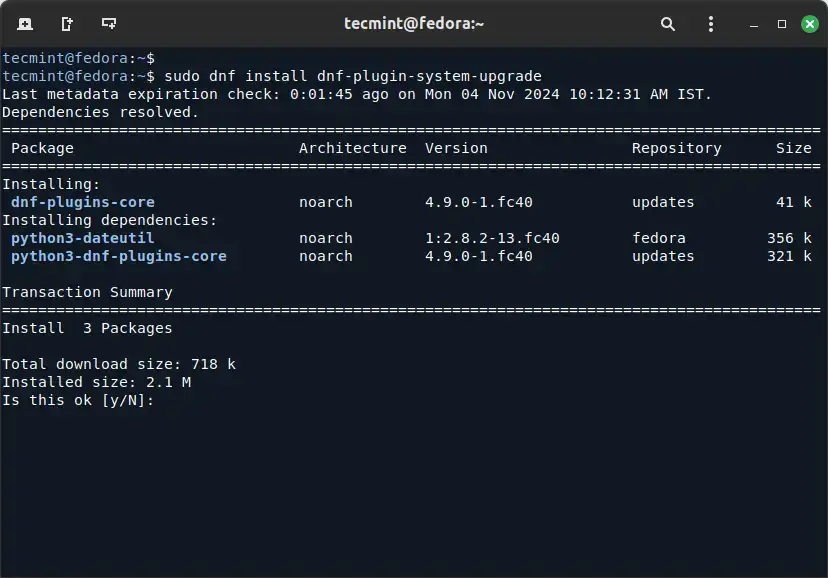
Step 3: Download Fedora 41 Release
Now it’s time to use the system-upgrade command to download the Fedora 41 release.
sudo dnf system-upgrade download --releasever=41
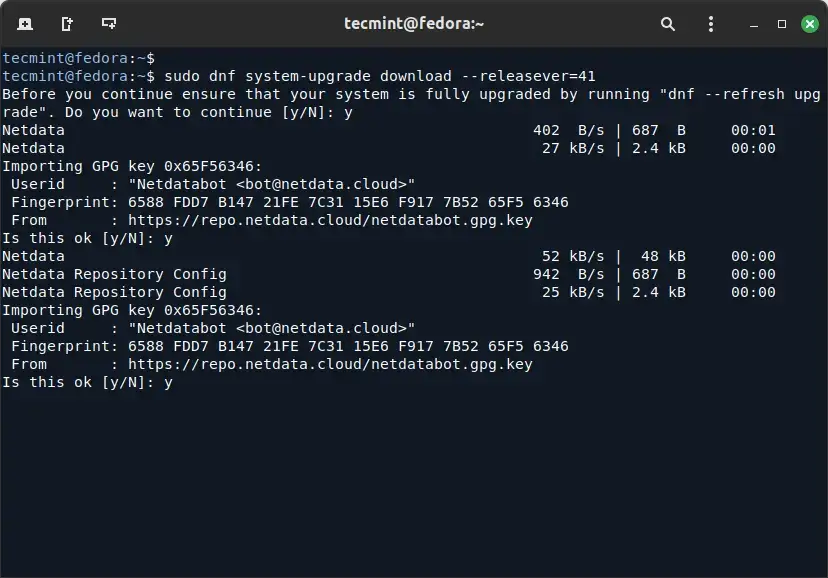
The above command downloads all the required packages for the upgrade. Keep in mind that the process might take a while, based on your internet speed and the number of packages to be downloaded.
If you encounter conflicts during the upgrade, consider adding the --allowerasing option to your upgrade command, which will enable DNF to remove packages that could be causing conflicts during the upgrade.
sudo dnf system-upgrade download --releasever=41 --allowerasing
After the package download is complete, restart your system to begin the final installation process.
sudo dnf system-upgrade reboot
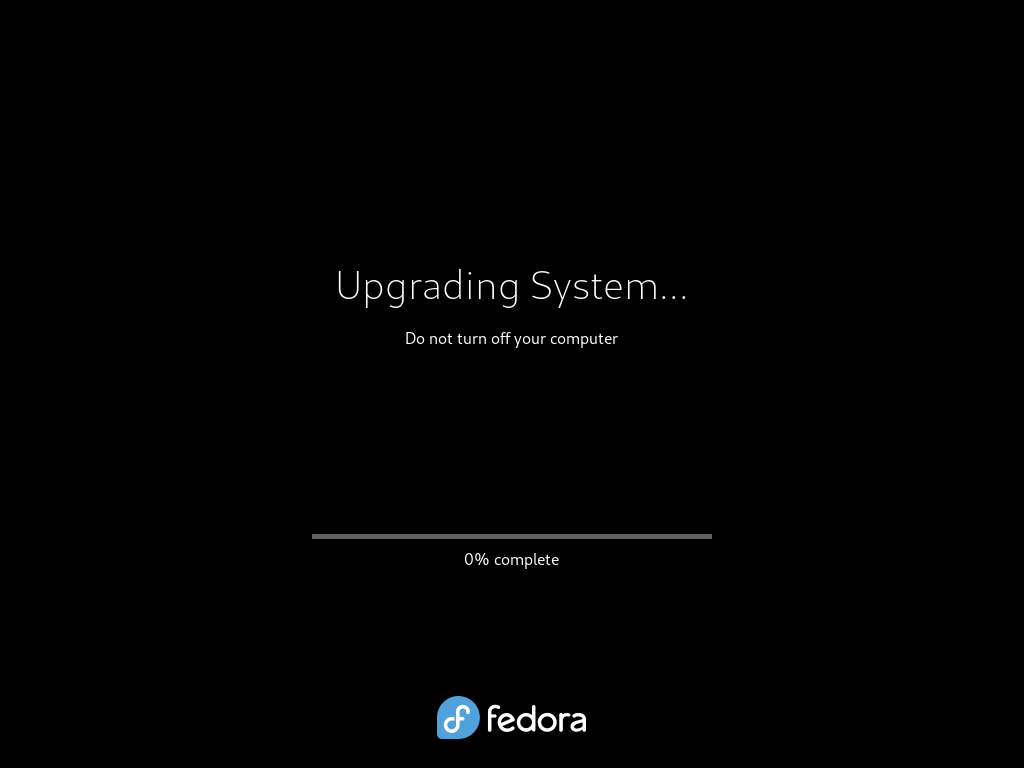
After rebooting, you will see your Fedors system upgrade installation process as shown.
Step 4: Verify Fedora 41 Release
Once the upgrade to Fedora 41 is done, you log in and confirm the upgrade.
cat cat /etc/redhat-release
Upgrading Fedora 40 Using GUI
In this section, we’ll walk you through the steps to upgrade Fedora 39 to Fedora 40 using the graphical software application called Gnome software.
Step 1: Update Fedora 40 (Required)
In Fedora Workstation, once the next stable release becomes available, a graphical notification will pop up, resembling the update notifications.
You can either click on this notification or open the Gnome Software application and navigate to the Updates pane to access a straightforward graphical interface for upgrading your system.
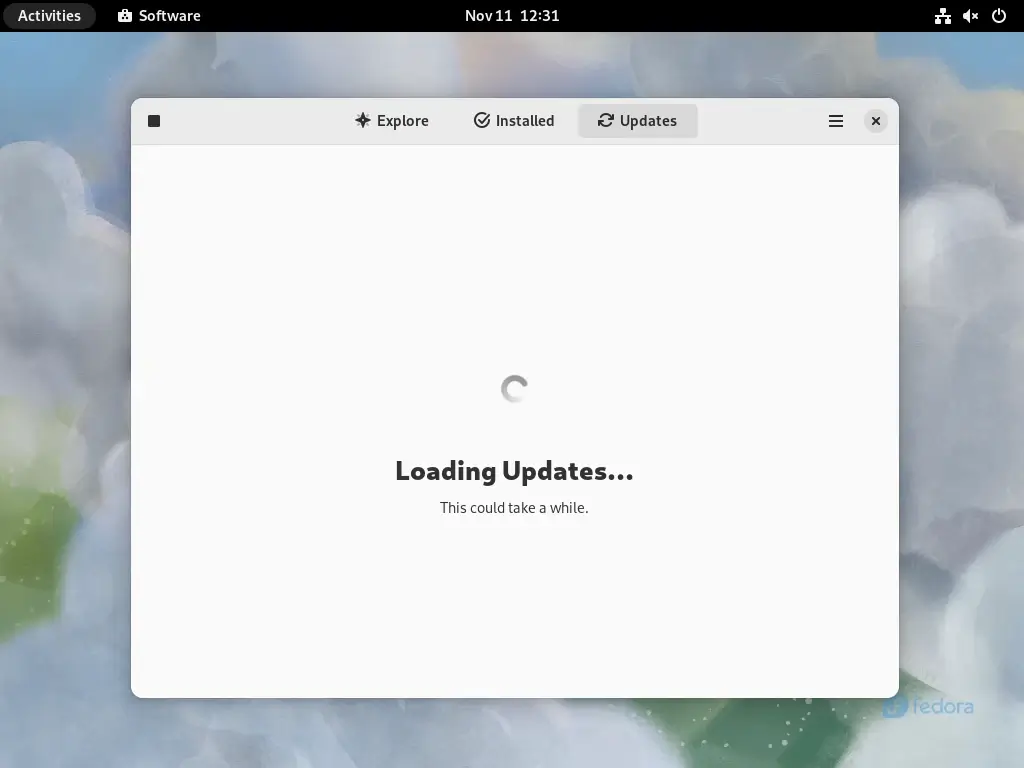
Next, click on the Refresh button to make sure that the Software is aware of the most recent updates.
If there are any unapplied updates shown, please click the Download button next to them (and then Restart & Update button, when it appears), to fully update your existing system.
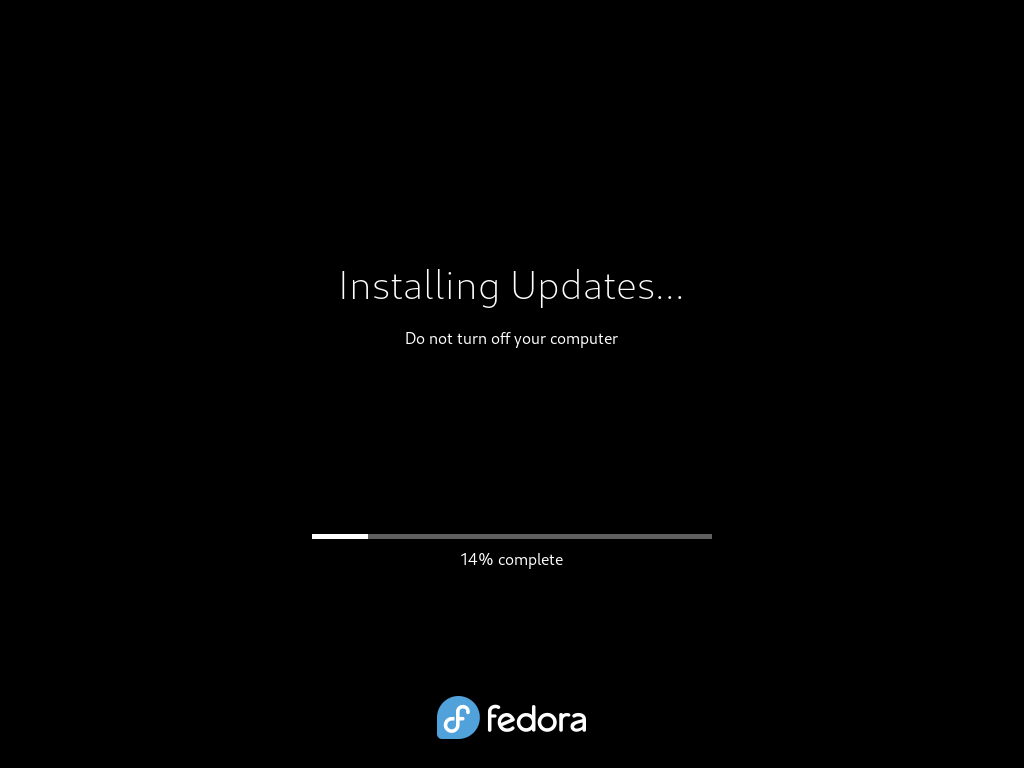
This is important, please do not skip this step.
Step 2: Initiate Fedora 41 Upgrade
Once system updates are installed, you should see an option to ‘Download‘ to start the upgrade process and follow the on-screen instructions provided by GNOME Software.
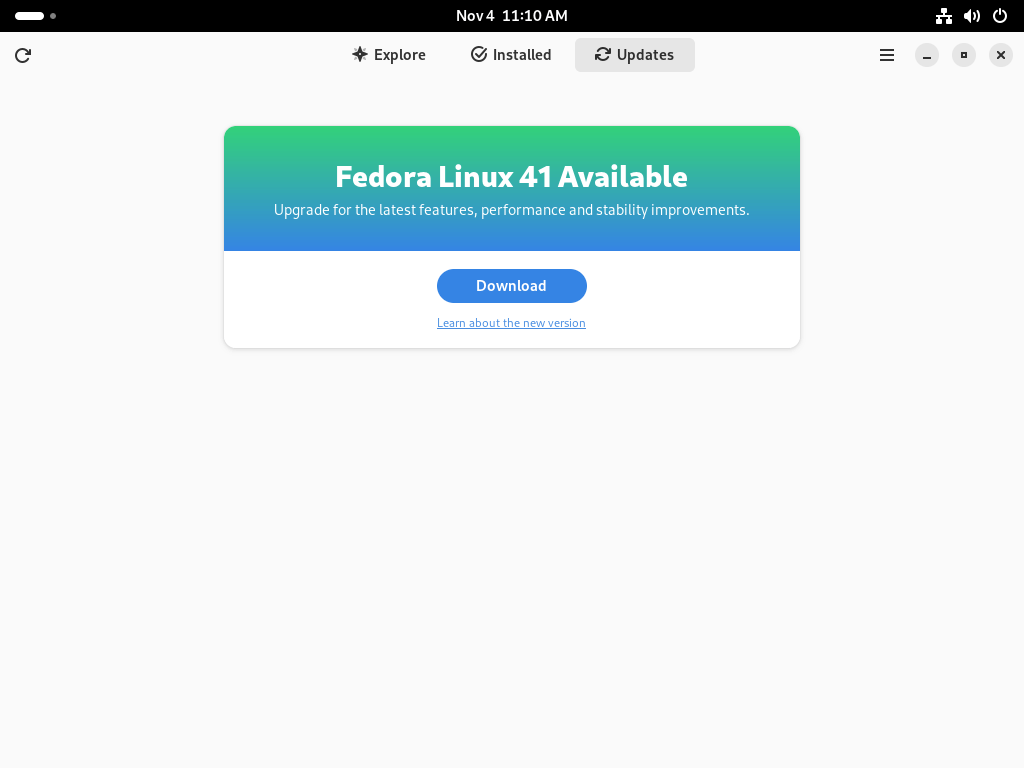
The system will lead you through the download and installation steps, so make sure you have a reliable internet connection, as this stage involves fetching a substantial amount of data.
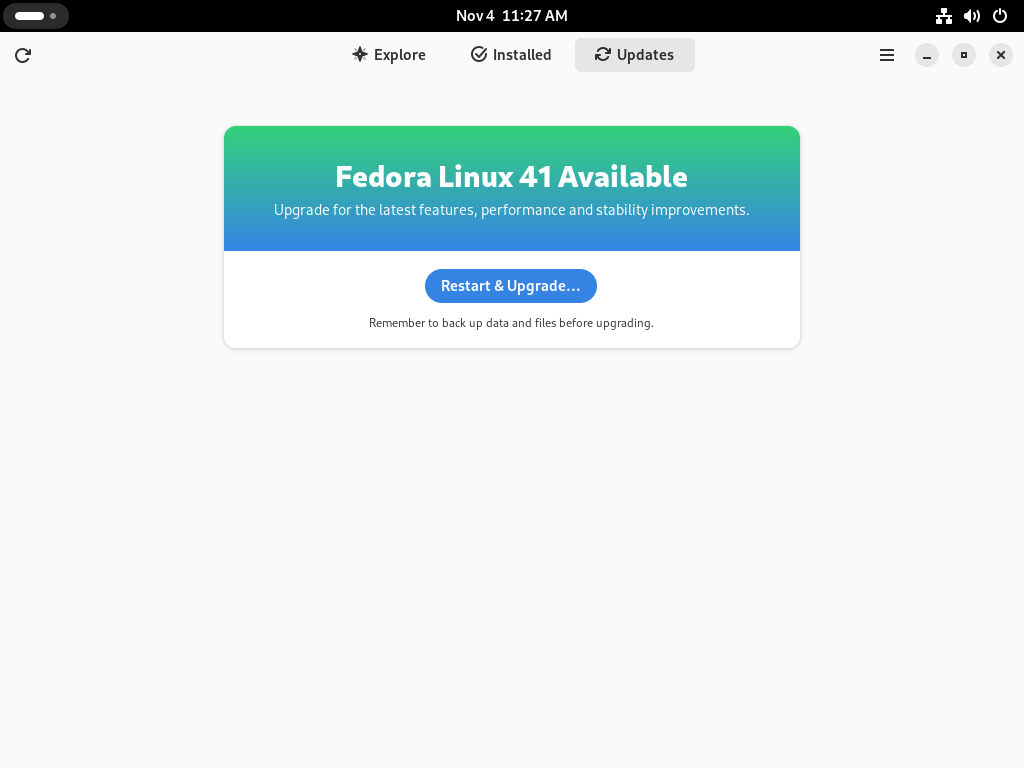
After the upgrade process is complete, GNOME Software will automatically restart your system.
Step 4: Check the Fedora 41 Release
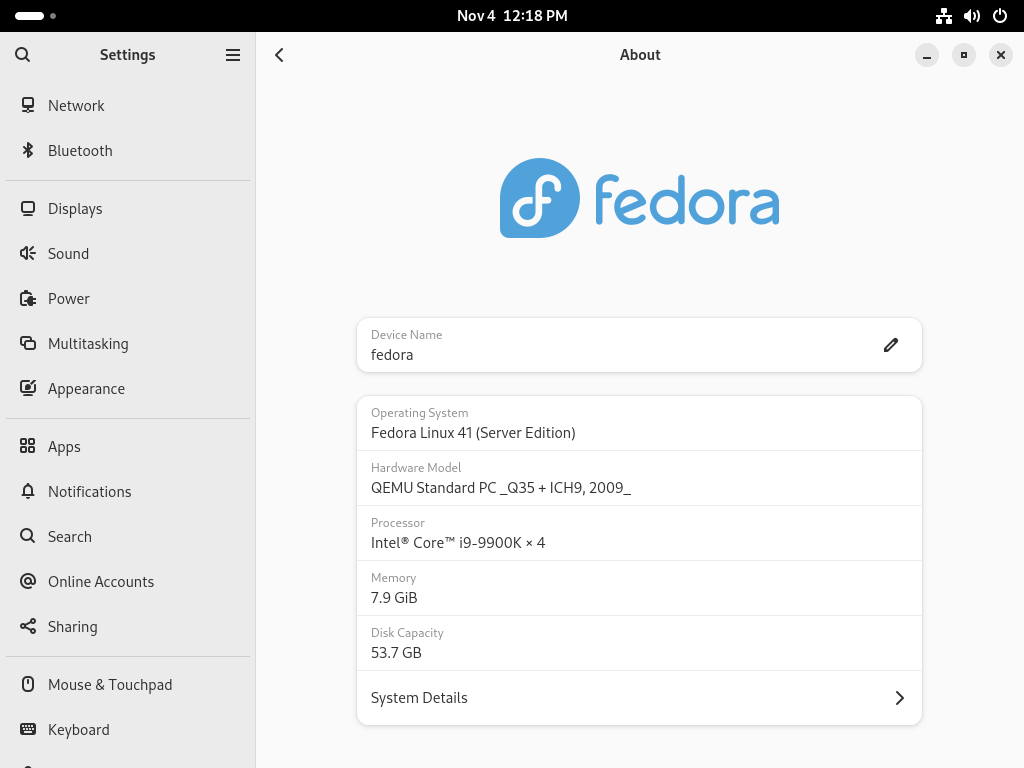
To confirm your Fedora 41, click on “Activities” and search for “About“, which will typically provide information about your Fedora version, system specifications, and other relevant details.
How to Roll Back Fedora Upgrade
If something goes wrong (like if you can’t start Fedora 41), you can easily go back. When you boot your computer, choose the option in the GRUB menu and choose the older version of Fedora, and your system will start with that older version instead of Fedora 41. If you don’t see the GRUB menu, try pressing ESC during boot.
To keep using the older version permanently, use this command:
sudo rpm-ostree rollback
Fresh Installation of Fedora 41 Server
In some cases, users may choose for a fresh installation of Fedora 41 Server instead of upgrading, as this method involves a fresh start, ensuring that your system benefits from the latest features without keeping any traces of the previous release.
Conclusion
Upgrading from Fedora 40 to Fedora 41 is a straightforward process that ensures you’re equipped with the latest features and improvements.
By following these steps, you can seamlessly transition to the newest version of Fedora and explore its exciting developments.

